
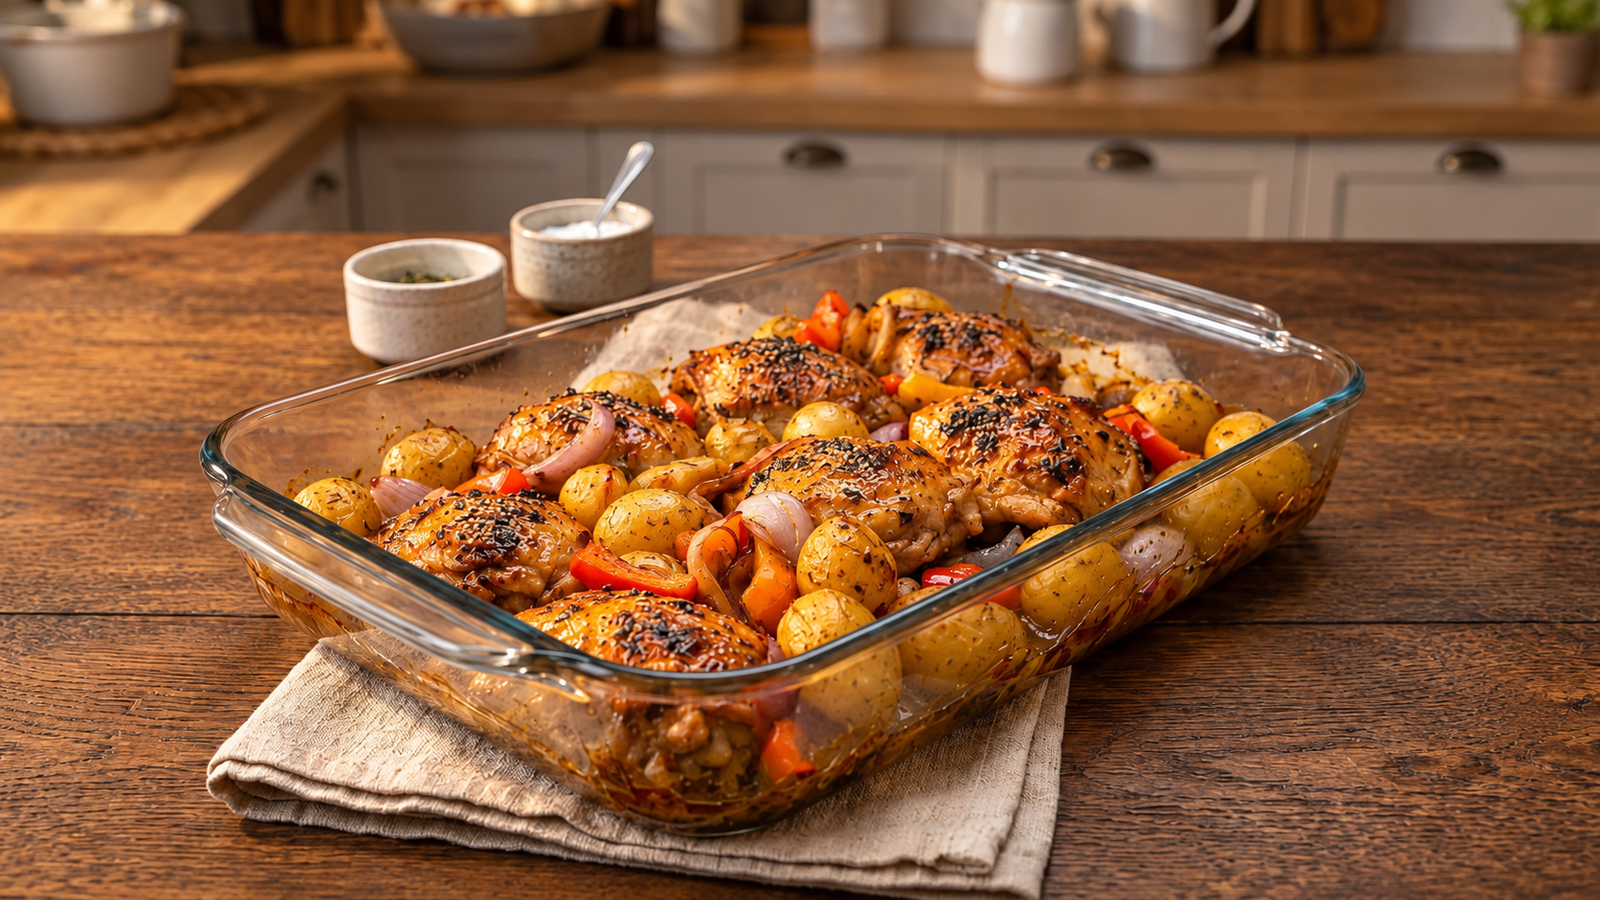
Last winter, I hosted a casual dinner party for six friends on a freezing Thursday night. Work had dragged on late, and I desperately needed a dinner idea that looked like I spent two hours fussing over the stove, but actually required almost zero active effort. Naturally, I decided to toss chicken thighs, baby potatoes, and veggies into a glass Pyrex baking dish, slide it into the oven, and call it a day.
The result of that first attempt? A total culinary disaster.
Instead of getting golden, crackling chicken skin and crisp, roasted potatoes, I pulled out a bubbling lake of grease. The skin on the chicken thighs had turned rubbery and soft, while the baby potatoes submerged in the pan juices were boiled rather than roasted. It tasted decent because chicken grease and garlic always taste good, but the texture was a mushy mess.
I spent the next few months tweaking temperatures, adjusting oil ratios, and testing different prep methods directly in glass casserole dishes. Today, I am sharing the exact formula I perfected so you can pull out a stunning, glass-pan roasted chicken and potato bake with shatteringly crisp skin, creamy-centered potatoes, and perfectly roasted red peppers every single time.
Why Glass Casserole Dishes Change the Game (If Used Right)
Baking in a glass dish is wildly popular because it goes straight from oven to table and looks gorgeous on a wooden trivet. However, glass handles heat differently than metal sheet pans.
Metal heats up instantly and cooks off liquid fast. Glass, on the other hand, takes longer to warm up, holds onto heat much longer, and traps moisture. If you don’t know how to manage that trapped liquid, your roast will steam instead of crisp up.
Here are the three cardinal rules I learned the hard way:
- Pat the Chicken Bone-Dry: Moisture is the ultimate enemy of crispy skin. Use paper towels to dry every single inch of the chicken thighs before seasoning.
- Don’t Overcrowd the Pan: Leave small gaps between your chicken thighs and potatoes. If you pack everything wall-to-wall, the steam gets trapped between the ingredients and softens the skin.
- High Heat is Non-Negotiable: Because glass slow-builds heat, roasting at 350°F (175°C) will just pool liquid. You need a hot oven—around 400°F to 425°F (200°C–220°C)—to render the chicken fat and crisp the potatoes simultaneously.
Ingredients You’ll Need
Here is everything required to pull off this complete one-pan dinner:
The Main Roast:
- 6 Bone-In, Skin-On Chicken Thighs: Bone-in thighs stay juicy under high heat and yield the best crisp skin.
- 1.5 lbs Baby Yellow Potatoes: Whole baby potatoes are ideal because their skins crisp up while keeping the insides fluffy.
- 1 Large Red Bell Pepper: Chopped into large, 1-inch chunks.
- 1 Medium Red Onion: Wedged into thick pieces so they sweeten and caramelize without burning.
- 6 Cloves Whole Garlic: Peeled, left whole so they turn sweet and soft as they roast in the pan juices.
The Herb & Oil Coating:
- 3 tbsp Extra Virgin Olive Oil: Divided between the veggies and the chicken.
- 1.5 tsp Dried Oregano & Thyme: Herbs complement both poultry and root vegetables beautifully.
- 1 tsp Garlic Powder & Onion Powder: For that savory, deep background flavor.
- 1 tsp Smoked Paprika: Gives the chicken skin that rich, golden-brown hue.
- 1 tbsp Sesame Seeds or Everything Bagel Seasoning: Optional, but sprinkling on top of the chicken skin before roasting adds incredible texture and visual contrast!
- 1.5 tsp Kosher Salt & Freshly Cracked Black Pepper: Do not skimp on salt!
Step-by-Step Cooking Instructions
Follow these exact steps for golden perfection:
Step 1: Preheat the Oven High
Preheat your oven to 415°F (210°C). Make sure your oven rack is set to the middle position. High heat is essential to start rendering the fat underneath the chicken skin as soon as the dish enters the oven.
Step 2: Prep the Vegetables
In a large bowl, toss the baby potatoes, red bell pepper chunks, red onion wedges, and whole garlic cloves with 1.5 tablespoons of olive oil, half of your salt, pepper, and dried herbs.
Lightly grease your 9×13-inch glass baking dish with a quick spray of oil. Spread the seasoned vegetables evenly across the bottom of the dish.
Step 3: Dry and Season the Chicken Thighs
Take your chicken thighs out of the fridge about 15 minutes before cooking to take off the chill. Use a double layer of paper towels to thoroughly dry the chicken skin and undersides.
Drizzle the remaining olive oil over the thighs. Rub the garlic powder, onion powder, paprika, remaining herbs, salt, and pepper all over the chicken. Make sure to season under the skin slightly for maximum flavor!
Step 4: Arrange the Dish
Nestle the chicken thighs right on top of and among the baby potatoes and peppers. Try to place the chicken skin-side UP, making sure the top skin isn’t buried under any vegetables.
If desired, sprinkle a generous pinch of sesame seeds or coarse black pepper over the top of each thigh for a professional presentation.
Step 5: The Bake (No Peeking!)
Slide the glass dish into the oven uncovered. Roast for 45 to 50 minutes.
During the last 10 minutes of baking, check the dish. If the chicken skin isn’t as dark and crisp as you like, turn on the oven broiler for 2 to 3 minutes. Keep your eyes glued to it under the broiler so the herbs don’t burn!
Step 6: Rest and Serve
Remove the dish from the oven and let it rest on a cloth napkin or wooden board for 5 to 7 minutes. This lets the juices redistribute through the chicken meat. The potatoes will soak up the garlic and chicken drippings at the bottom of the pan, making every bite taste unbelievable.
Lessons Learned & Common Mistakes to Avoid
- Covering the Dish with Foil: Never cover this roast with foil! Wrapping a glass dish in foil traps all the rising steam, completely ruining any chance of getting crisp skin or roasted potatoes. Keep it completely uncovered from start to finish.
- Cutting Potatoes Too Small: If you chop baby potatoes into tiny bits, they will turn into mush in the chicken pan juices long before the chicken thighs finish cooking through. Leave baby potatoes whole or simply cut them in half.
- Using Skinless Chicken Breasts: Boneless, skinless chicken breasts will dry out completely in the time it takes for potatoes to roast. Stick to bone-in, skin-on thighs or drumsticks for this recipe.
Kitchen Tools & Apps I Rely On
When making one-pan oven roasts, a few reliable tools take out the guesswork:
- Pyrex 9×13 Glass Baking Dish: Sturdy, easy to clean, and looks fantastic on a set dinner table.
- Instant-Read Digital Meat Thermometer: Pulling chicken out based on internal temperature rather than time prevents dry meat. Chicken thighs are safest and most tender at 175°F to 180°F (80°C–82°C).
- Whisk / Paprika App: I keep this recipe saved in my Paprika recipe app, which lets me scale up the potato and chicken quantities automatically if I have extra guests over.
What to Serve Alongside This Dish
Because this glass-pan bake already packs protein, starch, and vegetables into one dish, keep your side dishes light and fresh:
- Crisp Green Salad: A simple arugula or romaine salad tossed in a sharp lemon-vinaigrette cuts through the richness of the roasted chicken juices.
- Crusty French Baguette: Essential for dipping directly into the bottom of the glass dish to soak up the garlic-herb oil and rendered pan juices!
- Steamed Green Beans or Asparagus: Provides a bright green color contrast on the dinner plate.
Final Thoughts
There is nothing quite like pulling a bubbling glass dish out of the oven, filled with golden chicken thighs, blistered red peppers, and creamy baby potatoes. It’s comfort food at its finest, requiring minimal cleanup while filling your whole home with the incredible smell of roasted garlic and herbs.
Give this technique a try next time you need a hassle-free weeknight meal! If you make it, let me know in the comments below—did you go with extra garlic or stick to the classic herbs?