
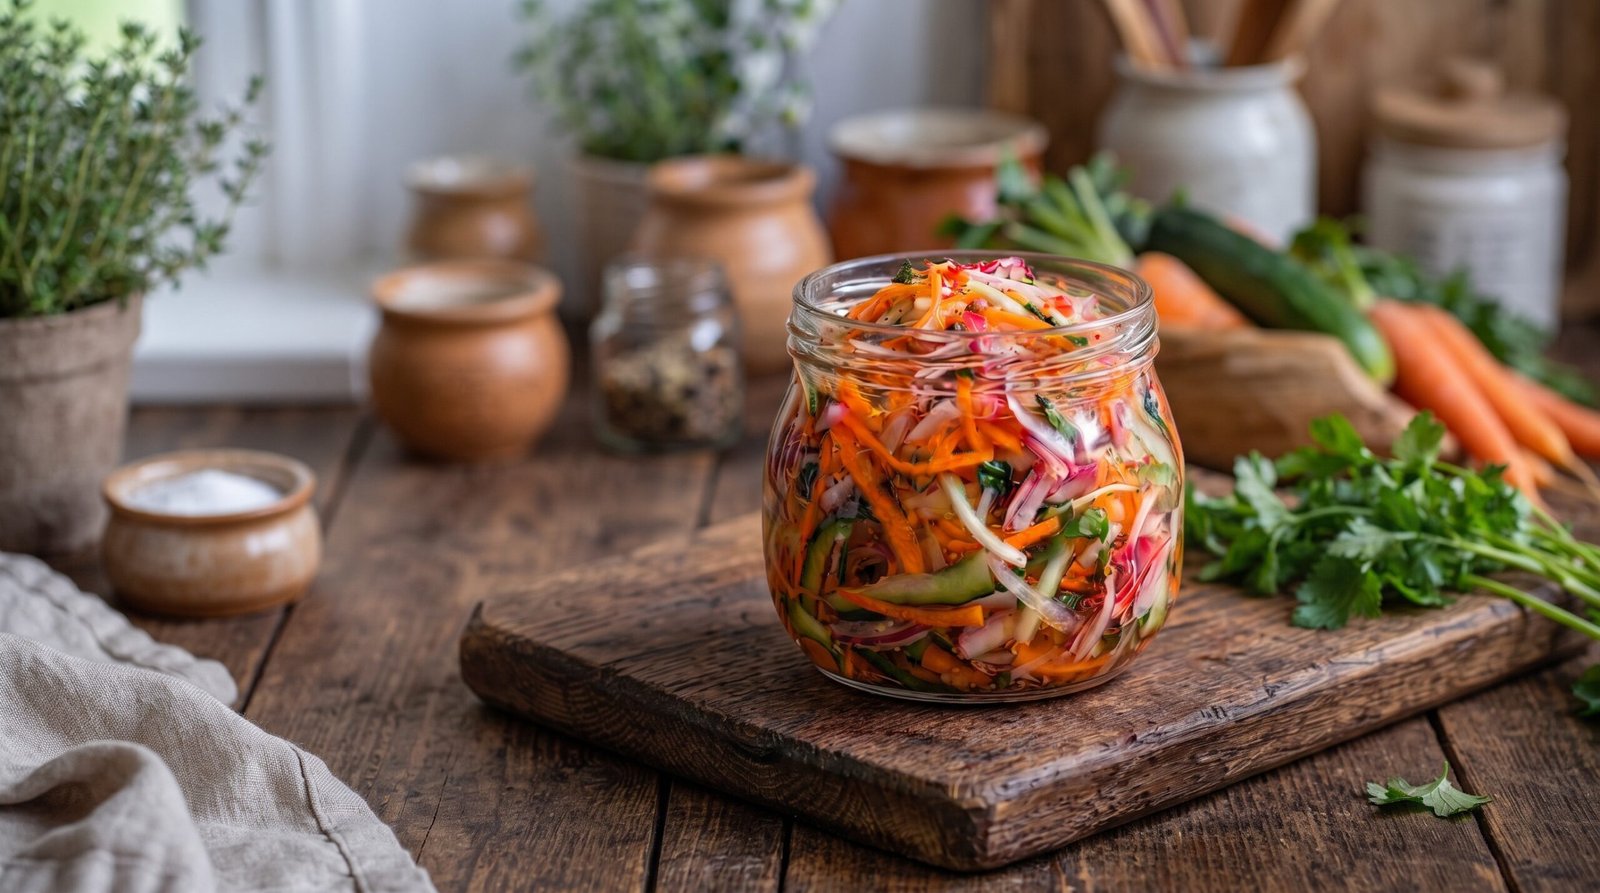
When I first started trying to manage my kitchen schedule better, I found myself constantly frustrated by how quickly fresh produce would lose its zip in the refrigerator. I wanted something crisp and bright that could sit on the dinner table as a ready-to-use side without requiring any extra cooking when I was already tired from a long day. That is when I really started leaning into making this quick pickled vegetable medley. It is one of those simple preparations that makes a massive difference in how I assemble dinner plates during the week. Instead of scrambling to chop raw vegetables every night, I just pull this jar from the fridge and have an instant component that adds crunch and a sharp, vinegary punch to whatever else I am serving.
This quick pickled vegetable medley is a staple in my routine. You will get a bright, tangy side dish that stays crisp for days. It provides a simple way to use up those extra carrots and cucumbers sitting in your crisper drawer before they get soft.
Why This Recipe Works
There are a few key reasons why I keep returning to this specific preparation. First, the texture remains firm. Because you are not boiling the vegetables, they retain a snap that is hard to achieve with long-process canning. By creating a quick brine and letting the vegetables sit, you maintain the structural integrity of the cucumber and carrot strips while infusing them with flavor. The vinegar bath acts to soften them just enough to be pleasant to chew, but not so much that they turn mushy or limp. This is exactly what you want when you are looking for a side dish that provides a bit of a clean, cold bite against a richer main course.
Second, the flavor balance is easy to adjust. This recipe relies on a classic ratio of vinegar to sugar, which creates a sharp foundation. You can easily tweak this based on what you have on hand. If you prefer things a bit sweeter, a pinch more sugar does the trick. If you want more heat, throwing in some sliced chili peppers or extra cracked pepper works wonders. It is a very forgiving preparation that invites you to experiment with your own taste preferences without ruining the entire batch. Once you learn the basic ratios, you will find yourself tossing all sorts of crunchy vegetables into the mix.
Third, the sheer convenience of having this ready to go cannot be overstated. It takes about twenty minutes of active work to wash, peel, and slice everything, and once it is packed into the jar, the refrigerator does the rest of the work. You do not need to worry about pressure canners, boiling water baths, or finding space in a pantry. It is designed specifically to be a short-term refrigerated item, which makes it perfect for someone who wants fresh flavors without the labor-intensive requirements of traditional long-term preservation methods. It is efficient, fresh, and consistently satisfying.
Ingredient Notes
The Vegetable Base
The foundation of this dish is all about texture. For the carrots, look for firm, unblemished roots. I prefer to use a julienne peeler to get thin, consistent strips, which helps the brine penetrate the vegetable more effectively than thicker chunks would. If you do not have a julienne peeler, a sharp chef knife works fine; just take your time to cut them into matchsticks that are roughly equal in size. This consistency ensures that every bite has the same crunch.
For the cucumbers, I suggest using the seedless or English variety. These have thinner skins and fewer, smaller seeds, which means they hold up much better in the vinegar brine. If you use regular garden cucumbers, you might want to peel them or scoop out the watery seeds to prevent the final product from becoming too liquidy. The red onion provides a nice pop of color and a mild bite, but be sure to slice it very thinly so the strong raw onion flavor does not overwhelm the other vegetables.
The Brine Components
The brine is where the magic happens, and it is made of basic pantry staples. I use white vinegar because it provides a clean, neutral acidity that lets the flavor of the vegetables shine through. You can swap in apple cider vinegar if you want a slightly fruitier, mellower tang, but keep in mind it will darken the color of the vegetables slightly. The sugar helps to balance the sharp acidity of the vinegar. Do not skip the sugar entirely; even a small amount acts as a necessary contrast.
For the aromatics, I like to use whole coriander seeds. They provide a warm, slightly citrusy note that complements the earthiness of the carrots. If you do not have coriander, mustard seeds are a great alternative. A little bit of salt is essential, not just for flavor, but to draw out some of the excess moisture from the vegetables, which keeps the brine from becoming too diluted. Always use kosher salt or sea salt instead of table salt, as the anti-caking agents in table salt can sometimes make the brine look a bit cloudy.
| Ingredient | Amount | Notes |
|---|---|---|
| Carrots | 3 medium | Julienne into thin matchsticks |
| English Cucumber | 1 large | Julienne into thin strips |
| Red Onion | 1 small | Thinly sliced half-moons |
| White Vinegar | 1.5 cups | Or apple cider vinegar |
| Water | 1 cup | Cold filtered water |
| Granulated Sugar | 4 tablespoons | Adjust to taste |
| Kosher Salt | 2 teaspoons | Do not use iodized salt |
| Coriander seeds | 1 teaspoon | Whole seeds for texture |
| Black peppercorns | 0.5 teaspoon | Whole for mild spice |
The Recipe
- Prep Time: 20 minutes
- Cook Time: 5 minutes
- Total Time: 25 minutes active, plus 4 hours chilling
- Servings: 1 large glass jar
- Difficulty: Easy
Equipment Needed:
– Large glass jar with a tight-fitting lid
– Small saucepan
– Julienne peeler or sharp knife
– Cutting board
Step-by-Step Instructions
Step 1: Prep the Vegetables
Start by thoroughly washing your vegetables under cold running water. Pat them dry with a clean kitchen towel so they are not dripping wet. Using a julienne peeler, process the carrots into long, thin strips. If you prefer to use a knife, slice the carrots into thin rounds and then stack them to cut into matchsticks.
For the cucumber, cut off the ends and slice it into strips of a similar thickness to the carrots. Avoid the center seed section if you are using regular garden cucumbers. Thinly slice the red onion into half-moons, trying to make the slices as thin as possible so they integrate easily with the other vegetables.
Step 2: Prepare the Brine
In your small saucepan, combine the water, white vinegar, granulated sugar, kosher salt, coriander seeds, and black peppercorns. Place the pan over medium heat and stir until the sugar and salt have fully dissolved. You do not need to let the liquid boil vigorously.
Once the liquid is clear and the sugar is dissolved, remove it from the heat. It is important to let the liquid cool for about 10 minutes before you pour it over your vegetables. If the liquid is boiling hot, it will instantly cook the vegetables, causing them to lose their snap and become soft.
Step 3: Pack the Jar
Take your clean, wide-mouth glass jar and start layering the prepared vegetables. I like to alternate handfuls of carrots, cucumbers, and onions to ensure that they are evenly distributed. Do not pack the jar so tightly that you crush the vegetables, but you want them snug enough that they stay submerged in the liquid later.
Leave about an inch of space at the top of the jar so you have room to pour in the brine. Once the vegetables are arranged to your liking, take your slightly cooled brine and pour it over the vegetables until they are completely covered.
Step 4: Seal and Chill
Put the lid on the jar and screw it on tightly. Give the jar a gentle shake or tilt it slightly to ensure the brine reaches all the corners and moves between the vegetable layers. You might see some air bubbles trapped; just tap the jar gently on the counter to help them rise to the surface.
Place the jar in the refrigerator and let it sit for at least four hours before serving. This time allows the flavors to meld and the brine to effectively permeate the vegetables. The longer it sits, the more pronounced the flavor will be, though I find the best texture is within the first 48 hours.
Step 5: Final Adjustments
After the initial four hours, take a clean fork and pull out a piece of carrot to taste. It should be bright, tangy, and still have a firm crunch. If you find the flavor is too sharp, you can add a tiny bit more sugar. If it is too mild, you can add a splash more vinegar.
Always use a clean utensil when dipping into the jar. Introducing bacteria from a used fork will shorten the shelf life of your pickles significantly. Keep the jar sealed tight between uses, and always store it in the back of the refrigerator where it is coldest.
Mistakes I Made (So You Don't Have To)
Using Boiling Brine
The first time I made this, I was impatient and poured the boiling brine directly onto the vegetables. I thought it would speed up the pickling process. Instead, I essentially steamed the vegetables inside the jar. The carrots turned dull and soft, and the cucumbers lost all of their crisp texture. Now, I always let the brine cool for at least 10 minutes before pouring it over the raw vegetables. This small wait makes a massive difference in the final texture.
Using Too Much Salt
I once used iodized table salt because it was all I had, and I used a bit too much of it. The result was a brine that was far too salty to enjoy, and the iodine gave it a weird, medicinal aftertaste. Stick to kosher salt, which has a cleaner flavor profile. If you are unsure about the salt level, start with one teaspoon and taste the brine before adding the second one. You can always add more salt, but you cannot take it out once it is in the jar.
Overstuffing the Jar
Early on, I tried to jam as many vegetables as I could into a single jar. I thought I was being efficient, but the brine could not circulate properly between the packed layers. This meant that some of the vegetables in the center were not pickled at all, while others were just fine. Now, I leave a little bit of room in the jar so the liquid can move around. It ensures a consistent, even pickle across every single strip of vegetable.
Forgetting to Use Clean Utensils
I used to just grab a fork from my flatware drawer to sneak a snack from the jar. I did not realize that even tiny traces of food from a previous meal can spoil a quick pickle. Now, I have one dedicated fork that I wash specifically for this jar, or I make sure to use a perfectly clean fork every time. Since there are no preservatives in this, hygiene is the only thing keeping the jar fresh for the full three days. It is a simple habit, but it saves the whole batch.
Variations and Tips
Adding Heat
If you want to add a kick to your vegetable medley, slice a fresh jalapeño or serrano pepper into rings and add it to the jar along with the onions. The heat from the peppers will infuse the brine, giving the whole dish a subtle, spicy finish. If you like it very spicy, leave the seeds and the membrane on the peppers, but be careful when handling them so you do not accidentally touch your eyes.
Fresh Herbs
Adding fresh herbs can completely change the character of this dish. A few sprigs of fresh dill work beautifully with cucumbers and onions. If you want something more earthy, a sprig of rosemary or a few leaves of fresh basil can add a nice dimension to the carrots. Just make sure to wash and dry the herbs thoroughly before adding them to the jar, as any dirt on the leaves can spoil the brine.
Using Different Vegetables
While carrots, cucumbers, and onions are my favorite, you can absolutely experiment with other firm vegetables. Daikon radish, thinly sliced bell peppers, or even cauliflower florets work well in this same brine. The key is to keep the pieces small and consistent in size. If you use a tougher vegetable like cauliflower, you might want to blanch it for 30 seconds in boiling water before placing it in the jar to ensure it softens enough to be pleasant to eat.
Time-Saving Tip
To save time during the week, I prep the vegetables on Sunday afternoon. I keep the julienned carrots, cucumbers, and onions in separate airtight containers in the fridge. When I want a fresh batch of pickles, I just grab a handful of each, make a quick batch of brine, and assemble. This means I can have a fresh batch of pickles in under 10 minutes because the hardest part—the chopping—is already done.
Storage and Reheating
This quick pickled vegetable medley is meant for short-term consumption. You should store the jar in the coldest part of your refrigerator, which is usually at the back, away from the door. It will stay crisp and delicious for up to three days. After that, the vegetables will begin to soften significantly, and the flavor of the vinegar will become too strong.
Do not try to freeze this dish. Because of the high water content in the cucumbers and onions, the texture will turn to mush once it thaws. This is meant to be eaten fresh and cold. If you have leftovers that are getting too soft after three days, they are better off being tossed, or you can stir them into a hearty salad where the texture does not matter as much.
There is no need to reheat this dish. It is a cold, crunchy side. If you ever find it sitting out at room temperature for more than two hours, you should discard it. Food safety is paramount when dealing with quick pickles that do not undergo a canning process. Keep it cold, keep it sealed, and enjoy it within the window for the best results.
Frequently Asked Questions
Can I use a different type of vinegar?
Yes, you can substitute the white vinegar with apple cider vinegar or even a white wine vinegar. Apple cider vinegar will provide a slightly fruitier, softer profile, while white wine vinegar is a bit more sophisticated. Just avoid balsamic or heavy malt vinegars, as they will overwhelm the delicate flavor of the vegetables and turn the entire brine a muddy color.
Do I have to peel the cucumbers?
It depends on the type of cucumber. If you are using English cucumbers, the skin is very thin and mild, so you do not need to peel them. In fact, keeping the skin on adds a nice splash of color and extra crunch. If you use standard garden cucumbers, the skin can be tough and waxy, so I recommend peeling them before slicing.
Can I make this with fewer vegetables?
You certainly can. The ratios of the brine are based on the volume of the jar, not the exact weight of the vegetables. As long as you have enough vegetables to fill the jar and the brine covers them completely, you will be fine. If you have a smaller jar, just scale down the amount of brine accordingly so you do not have a ton of leftover liquid.
My pickles are turning soft. What happened?
Softness usually happens because the vegetables were submerged in liquid that was still too hot, or they were left in the fridge for longer than three days. If you want to keep them crunchier for longer, ensure your brine is fully cooled before you add it to the jar, and try to eat them within the first 48 hours for the peak experience.
Why do the onions change color?
It is perfectly normal for red onions to lose some of their vibrant purple hue and turn a bright pink when they soak in vinegar. This is a chemical reaction between the anthocyanins in the onion and the acid in the vinegar. It does not affect the flavor at all, and many people actually find the pink color quite appealing in the jar.
Final Thoughts
Making these pickles has become one of my favorite kitchen habits. It feels good to turn basic, raw ingredients into something that is immediately ready to grab for a quick lunch or a dinner side. The bright, crisp bite of the carrots and cucumbers adds such a lovely contrast to almost any meal.
If you give this a try, you will quickly see how easy it is to keep your fridge stocked with simple, flavorful sides. It takes almost no time to put together, and having that jar ready to pull out makes my evening routine feel just a little bit more managed and a lot more refreshing.