
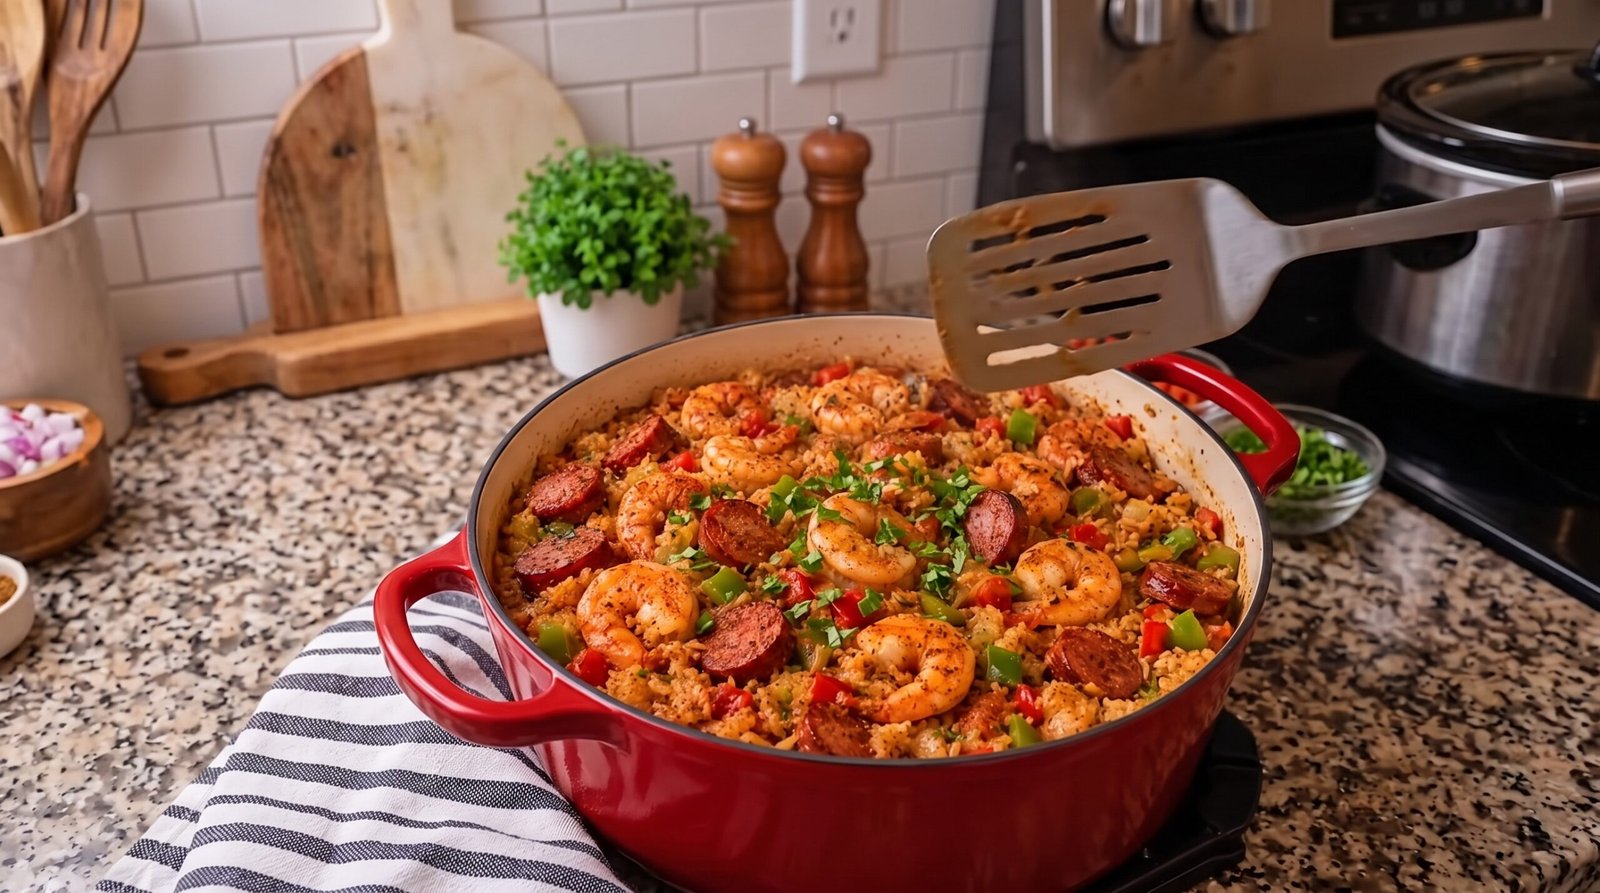
I used to be intimidated by the idea of making jambalaya at home. It always seemed like one of those dishes that required years of experience to get the rice texture right without burning the bottom of the pot. A few years ago, I had a busy weeknight where I had a package of smoked sausage and a bag of frozen shrimp to use up, so I decided to throw everything together in my cast iron pan. That night, I learned that this meal is actually quite forgiving if you keep a close watch on your heat levels. It is a hearty one-pan dinner that brings a lot of flavor to the table with very little effort. If you are looking for a reliable way to get a solid meal on the table for your family, this Shrimp and Sausage Jambalaya is the way to go. You get a nice balance of smoky meat, tender seafood, and savory grains that satisfy a big appetite without needing a dozen side dishes.
Why This Recipe Works
The primary reason this dish is a staple in my kitchen is the depth of flavor you get from the smoked sausage. When you sear the sausage in the pan, it releases a good amount of fat and seasoning into the base, which acts as a flavor foundation for the rice and vegetables. This renders down and coats everything, meaning you do not need to add a massive amount of extra oil or butter to get a rich result. I find that this method builds character in the dish that you just cannot get if you simply boil everything together.
Texture is another big factor here. By browning the meat first and removing it before you cook the aromatics, you avoid overcooking the sausage while giving the vegetables time to soften in those tasty drippings. The shrimp go in during the final minutes so they stay firm and juicy rather than turning into rubbery little morsels. This timing is the real secret to keeping the seafood enjoyable. You also get a nice contrast between the slightly softer rice and the bite of the peppers, which keeps every mouthful interesting.
Finally, the cleanup is minimal. Because this is a true one-pan meal, you only have the pot and a wooden spoon to wash at the end of the night. This is essential for me because I do not have a dishwasher and I prefer to spend my evening relaxing rather than scrubbing multiple pans. It is a simple, straightforward process that relies on heat control and timing rather than complicated techniques. Once you master the rhythm of adding your ingredients, you will see how easy it is to produce a consistent meal every single time you cook it.
Ingredient Notes
The Proteins
The base of this dish relies on quality sausage. I always look for a smoked sausage that has a bit of snap to it. If you have access to andouille, that is a great choice, but a standard smoked pork or beef sausage works fine. Just slice them into rounds about half an inch thick. For the shrimp, I prefer using peeled and deveined raw shrimp. Frozen is fine, just make sure they are fully thawed and patted dry with a paper towel before they go into the pot. If they are wet, they will steam instead of cooking properly.
The Aromatics and Rice
You cannot make a good jambalaya without the holy trinity of onion, bell pepper, and celery. I like to dice these finely so they melt into the background of the rice. For the rice, long-grain white rice is the best choice. It stays separate and does not get too mushy. If you use a different type of rice like jasmine or basmati, the cooking time and the amount of liquid needed will change, so stick to standard long-grain for the best results. You will also need some garlic to add a punch of flavor.
The Liquid and Seasoning
The liquid part is usually a mix of canned crushed tomatoes and a high-quality broth. I prefer chicken or seafood stock, depending on what I have in the pantry. Make sure your broth is not too salty, as the sausage and the seasonings already contribute quite a bit of sodium. For spices, I use a blend of dried thyme, oregano, a touch of cayenne for heat, and smoked paprika for extra color and depth. You can adjust the cayenne based on how much kick you like in your food.
| Ingredient | Amount | Notes |
|---|---|---|
| Smoked sausage | 12 ounces | Sliced into 1/2 inch rounds |
| Large shrimp | 1 pound | Peeled, deveined, and dried |
| Onion | 1 medium | Finely diced |
| Bell pepper | 2 medium | Diced, green is traditional |
| Celery | 2 stalks | Thinly sliced |
| Garlic | 3 cloves | Minced |
| Long-grain rice | 1.5 cups | Uncooked |
| Crushed tomatoes | 14 ounces | One standard can |
| Chicken broth | 2.5 cups | Low sodium preferred |
| Dried thyme | 1 teaspoon | Dried herb |
| Dried oregano | 1 teaspoon | Dried herb |
| Smoked paprika | 1 teaspoon | Adds color and depth |
| Cayenne pepper | 1/4 teaspoon | Adjust for heat preference |
| Salt and pepper | To taste | Add carefully |
| Fresh parsley | 1/4 cup | Chopped, for topping |
The Recipe
- Prep Time: 15 minutes
- Cook Time: 35 minutes
- Total Time: 50 minutes
- Servings: 4 generous portions
- Difficulty: Easy to intermediate
Equipment you will need:
– Large heavy-bottomed pot or Dutch oven
– Wooden spoon
– Chef knife and cutting board
– Measuring cups and spoons
Step-by-Step Instructions
Step 1: Prep and Sear the Sausage
Start by heating your large pot over medium heat. You do not need any oil yet because the sausage has enough fat to grease the pan. Add your sliced sausage in a single layer and let it sit undisturbed for about three to four minutes. You are looking for a deep brown color on the edges of each slice. This browning process is important because it creates a layer of flavor at the bottom of the pot.
Once the sausage has a nice brown crust, use your wooden spoon to flip the pieces and cook for another three minutes. When they look cooked through and slightly crispy on the edges, remove them with a slotted spoon and place them on a plate. Leave the rendered fat in the pot because that is where the flavor lives. If there is more than a tablespoon of grease, you can dab a bit out with a paper towel, but keep at least a little bit in there for the vegetables.
Step 2: Sauté the Aromatics
Lower the heat slightly to medium-low. Add your diced onion, bell pepper, and celery to the pot with the remaining sausage fat. Stir them around with your wooden spoon, making sure to scrape the bottom of the pot to lift up any brown bits left behind by the sausage. This is often called deglazing, and it is a key step for building a complex base.
Cook these vegetables for about six to eight minutes. You want them to be soft and translucent, but not brown. If the heat is too high, they will burn before they are soft. Once they reach that stage, stir in your minced garlic and cook for just sixty seconds until it becomes fragrant. Keep a close eye on the garlic because it burns very fast, which will make your dish taste bitter.
Step 3: Add the Rice and Seasonings
Now it is time to add the rice. Pour it directly into the vegetable mix and stir it for about two minutes. You want the grains to be coated in the oil and lightly toasted. This helps the rice stay firm later on. Once the edges of the rice grains start to look clear, add your thyme, oregano, paprika, and cayenne pepper. Stir it all together for another minute so the heat can wake up the dried spices.
The smell at this stage should be quite strong and savory. Make sure every grain of rice is covered in the spice mix. If it looks a bit dry, that is perfectly fine. The liquid will be added next to bring it all together. Be careful not to let the rice sit too long at this stage without adding liquid, or it might stick to the bottom.
Step 4: Simmer the Jambalaya
Pour in the crushed tomatoes and the chicken broth. Use your wooden spoon to stir everything, ensuring you reach the corners of the pot. Add the cooked sausage back into the liquid. Increase the heat to medium-high just until the liquid comes to a light boil, then immediately turn it down to low.
Put a tight-fitting lid on the pot and let it simmer for about eighteen to twenty minutes. Do not peek during this time. Lifting the lid releases the steam and can mess up the rice cooking process, leading to uneven texture. The goal is for the rice to absorb almost all the liquid and become tender. You will know it is ready when the liquid is mostly gone and the rice is soft to the bite.
Step 5: Incorporate the Shrimp
Check the rice texture after the twenty-minute mark. If it seems done, it is time to add the shrimp. Place the raw, patted-dry shrimp on top of the rice and push them down slightly so they are nestled into the mixture. Cover the pot again and let it cook for another five to six minutes.
Shrimp cook very quickly. They are done when they turn opaque and pink and have curled into a loose C-shape. If you overcook them, they will become tough and lose their natural sweetness. As soon as you see them turn pink and firm, remove the pot from the heat entirely. A good way to test if they are ready is to use a meat thermometer; they should reach 145 degrees Fahrenheit for safety.
Step 6: Final Touches
Once you have taken the pot off the heat, let it rest for five minutes with the lid on. This allows the heat to redistribute and the flavors to settle. Finally, give everything a gentle stir to combine the shrimp and the rice. Sprinkle the fresh chopped parsley over the top to add a bit of color and brightness to the dish. Serve it warm directly from the pot.
Mistakes I Made (So You Don't Have To)
Using a Pan That Was Too Small
The first time I made this, I tried to fit everything into a medium-sized skillet. It was a disaster. The ingredients were crowded, the rice did not cook evenly, and the liquid bubbled over the sides of the pan and made a mess on my stove. Now I only use my largest, deepest Dutch oven. You need enough space for the rice to expand and for the steam to circulate. If your pot is too small, you will end up with crunchy rice on top and mushy rice on the bottom.
Overcrowding the Shrimp
I once threw a massive amount of shrimp into the pot all at once. Because the pot was already quite full, the temperature dropped too quickly, and the shrimp steamed instead of cooking cleanly. It resulted in a watery mess. Now, I make sure to lay them out in a relatively even layer on top of the rice. If you have a lot of shrimp, cook them in batches or make sure your pot is wide enough that they are not stacked on top of each other.
Being Impatient with the Rice
In my early attempts, I would take the lid off to check the rice every few minutes. This is a common mistake that lets all the trapped steam escape. The moisture level in the pot is precisely balanced, and taking the lid off disrupts the environment. Now, I set a timer and I do not touch the lid until that timer goes off. If you are worried about burning, keep your heat at the absolute lowest setting possible. It is better to have a slightly slower cook time than a burnt bottom.
Forgetting to Dry the Shrimp
I used to pull shrimp straight from the thawing bowl and toss them in. They were always covered in excess water, which diluted the flavor of the entire dish. Now, I always pat my shrimp very dry with paper towels. Removing that surface moisture ensures that they cook properly and do not add unwanted liquid to the pot. This small step makes a big difference in the final consistency of the sauce.
Variations and Tips
Using Different Proteins
While sausage and shrimp are traditional, you can play around with the meat. Chicken thighs work well, but you should brown them in the first step just like the sausage. If you want to use other seafood, like scallops or crawfish, add them at the same time you would add the shrimp, as they have similar cooking times. Avoid using delicate fish fillets as they will break apart too easily during the stirring process.
Adjusting the Heat
If you are cooking for people who prefer mild flavors, you can leave out the cayenne pepper or substitute it with a tiny bit of sweet paprika. On the other hand, if you like a lot of heat, you can add diced jalapeño when you sauté the onions and celery. Just remember that the heat from peppers can intensify as the dish cooks, so start with less than you think you need.
The Make-Ahead Strategy
You can chop all your vegetables and slice the sausage a few hours before you plan to cook. Keep them in separate containers in the fridge until you are ready to start. However, do not cook the rice ahead of time. This dish relies on the rice cooking in the flavorful broth. If you try to use pre-cooked rice, the texture will be completely different and it will not absorb the seasoning the same way.
Using Fresh Herbs
While I use parsley for the final touch, you can also stir in some fresh green onions at the very end. The slight bite of the onion adds a fresh contrast to the rich, smoky flavors of the sausage. If you do not have fresh parsley, a little bit of fresh cilantro can work, though it changes the flavor profile significantly. Always add fresh herbs right before serving to keep them vibrant.
Storage and Reheating
If you have leftovers, they should be refrigerated within two hours of cooking. Store them in an airtight container. This dish keeps well for up to three days in the fridge. Be aware that the rice will continue to absorb liquid as it sits, so it might seem a bit drier when you go to reheat it.
To reheat, put the leftovers in a pan with a tiny splash of water or broth. Cover it and heat it over medium-low heat until it is steaming hot. You want to make sure the shrimp and any other proteins are heated through, aiming for an internal temperature of 165 degrees Fahrenheit. I do not recommend freezing this dish. Once thawed, the rice tends to get mushy and the shrimp lose their texture entirely. It is best enjoyed fresh or within a couple of days.
Frequently Asked Questions
Can I use brown rice instead of white?
You can, but it is not recommended for this recipe. Brown rice takes much longer to cook and requires more liquid than white long-grain rice. If you switch to brown, your shrimp will be severely overcooked by the time the rice is tender. If you must use brown rice, you would need to cook it separately and stir it in at the end, but you will lose the flavor absorption that happens during the simmering process.
Is it okay to use pre-cooked sausage?
Yes, most smoked sausages are already cooked when you buy them. You are just searing them to get that nice color and to release the fat into the pan. This is exactly what I do. Even though it is technically pre-cooked, browning it is still a necessary step for the flavor profile of the dish. Do not skip the browning step just because the meat is already safe to eat.
Why is my rice mushy?
Mushy rice usually happens because of too much liquid or over-stirring. Make sure you are measuring your broth and tomatoes accurately. Also, avoid stirring the pot after you have added the liquid and covered it. Every time you stir, you break the rice grains and release starch, which makes the whole pot gluey. Trust the process and keep the lid on.
Can I use frozen vegetables?
Fresh is definitely better for the texture, but you can use frozen diced onions and peppers if you are in a pinch. Keep in mind that frozen vegetables contain a lot of water. If you use them, you should sauté them for a few minutes longer to make sure that excess water evaporates before you add the rice and broth. Otherwise, your rice will end up soaking in too much liquid.
How do I know when the rice is done?
The best way to tell is to taste it. After eighteen to twenty minutes of simmering, carefully lift the lid and take a small spoonful of rice from the side of the pot. It should be tender all the way through with no hard center. If it is still crunchy, add a tiny bit more broth, cover it again, and cook for another three minutes.
Final Thoughts
Making this shrimp and sausage dish has become a reliable way for me to get a satisfying meal on the table during busy weeks. It is one of those recipes that reminds me why simple, one-pot cooking is so enjoyable. You do not need a fancy kitchen or expensive equipment to create something that tastes like you spent all afternoon working on it.
I hope you find this recipe as helpful as I do. Just remember to keep an eye on your heat, resist the urge to peek under the lid too often, and use quality ingredients where you can. Once you have the timing down, you will find yourself reaching for this recipe again and again whenever you need something filling and reliable for dinner.