
Introduction: The Dreaded Fish-Market Panic
Let me be completely honest with you. For a long time, cooking fish at home was my ultimate culinary nightmare.
I’d walk into the local fish market with good intentions, stare at the iced display case, and instantly feel intimidated. I’d buy a couple of pricey fillets of cod or halibut, lug them home, and then the panic would set in. The moment that fish hit the pan, it would either stick relentlessly to the bottom like superglue, turn into a sad, crumbly pile of mush, or smell up my entire apartment for three days straight.
I had a habit of over-complicating things, too. I’d try fancy baking parcels, complicated poaching liquids, or heavy breadings that masked the actual taste of the seafood. More often than not, dinner ended with me ordering takeout while scraping burnt fish skin off my favorite cast-iron skillet with a metal spatula and a whole lot of regret.
If you’ve ever felt that sinking feeling of ruining an expensive piece of fish, I see you.
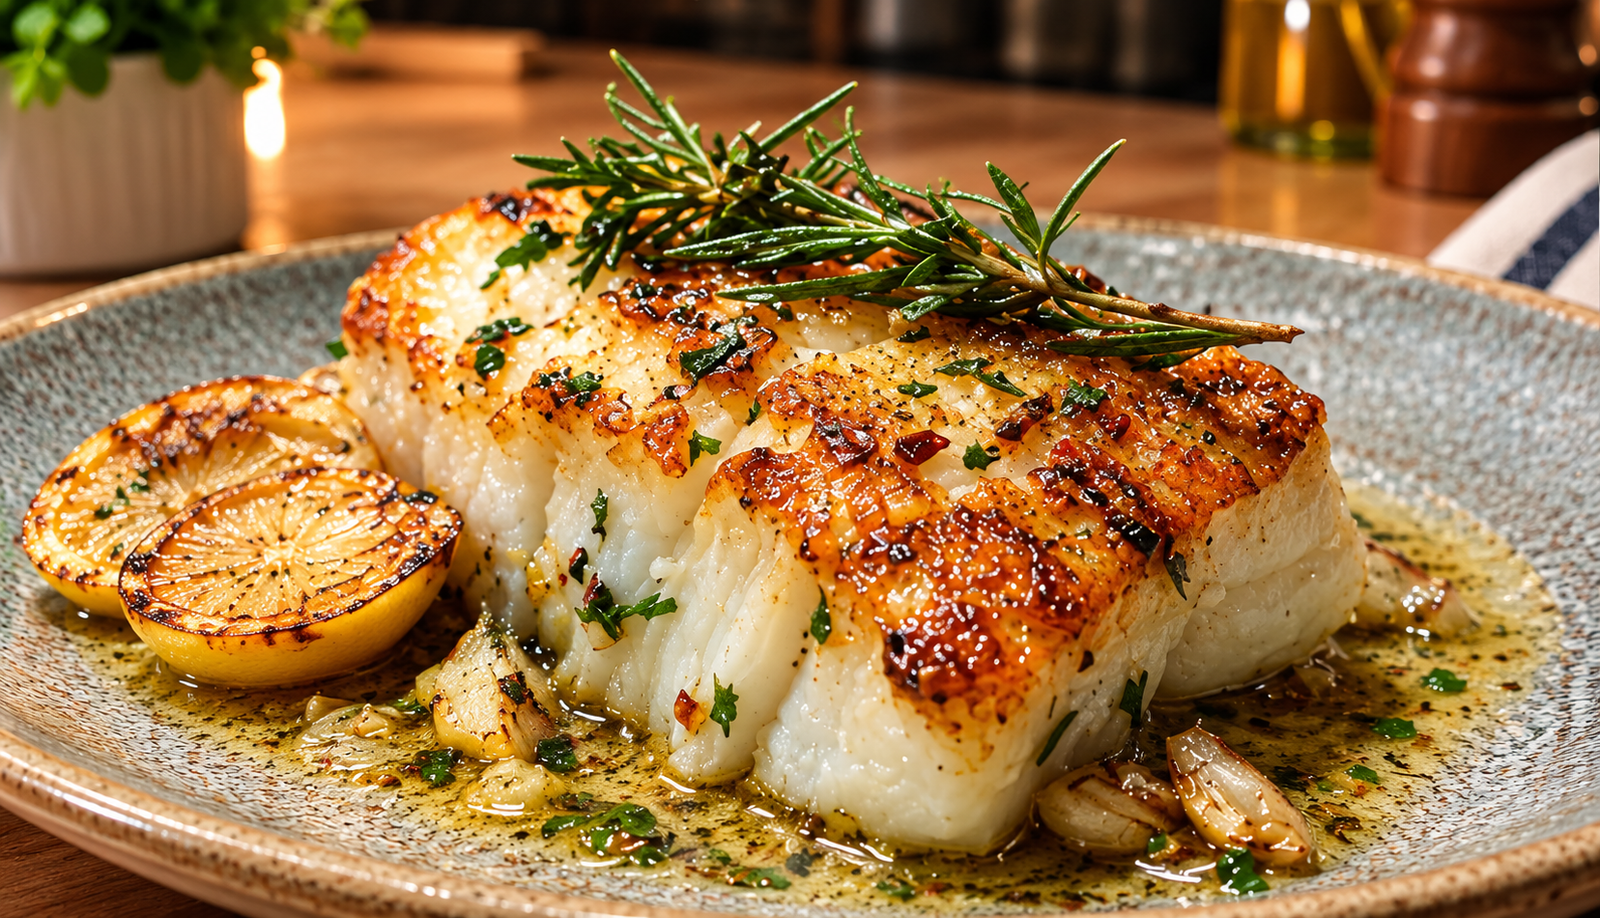
It wasn’t until I stopped treating fish like fragile glass and started treating it like a good steak that everything changed. Today, I’m breaking down the exact, fool-proof method I use to get that gorgeous, golden-brown crust and buttery, flake-apart center every single time. No intimidation, no smoke-filled kitchen, just restaurant-quality cod right on your own stovetop.
The Reality Check: Why Cod is Your Best Friend
Before we dive into the kitchen, let’s talk about why I chose cod for this recipe.
If you’re trying to build confidence with cooking seafood, cod is the absolute MVP. It’s a sturdy, thick white fish that holds its shape way better than delicate flatfishes like sole or flounder. It has a mild, clean, slightly sweet flavor that doesn’t taste “fishy” at all—making it a huge hit even with folks who claim they “don’t like fish.”
Plus, it’s widely available, cooks in under ten minutes, and is wonderfully forgiving if you catch it right before it overcooks.
That said, there are three golden rules I learned the hard way that you need to memorize before turning on the stove:
- Never skip the paper towels. Wet fish steams instead of searing. Period.
- Respect the heat. Your pan needs to be hot before the fish touches it.
- Flip only once. Stop poking it! Let the crust form.
Let’s look at what you’ll need to make this happen.
The Ingredient List
For a meal that looks and tastes this high-end, the ingredient list is surprisingly short. Head to your local market or grocery store and grab these items.
| Category | Item | Quantity / Notes |
| The Star | Fresh Cod Fillets | 2 thick-cut fillets (about 6-8 oz each). Look for firm, translucent flesh with no overly fishy odor. |
| Seasoning | Kosher Salt & Fresh Black Pepper | To taste. Don’t be shy; fish needs proper seasoning. |
| Searing Fat | Avocado Oil (or Grapeseed Oil) | 1 tablespoon. Needs a high smoke point so it doesn’t burn. |
| The Basting Magic | Unsalted Butter | 3 tablespoons. Essential for that rich, nutty flavor and glossy pan sauce. |
| Aromatics | Fresh Garlic Cloves | 3 cloves, smashed with the flat side of a knife (leave the skins on so they don’t burn). |
| Herbs | Fresh Rosemary & Thyme | A couple of sprigs of each. Fresh herbs elevate this from a basic weeknight meal to a bistro-style feast. |
| Finishing Touch | Fresh Lemon Juice | A quick squeeze right at the end to cut through the richness of the butter. |
Step-by-Step: From Panic to Perfection
Got your ingredients ready? Good. Let’s walk through the cooking process together, step by step. Keep your burner close and your tools handy—this goes fast!
Step 1: Prep Like a Pro
- Dry It Thoroughly: Take your cod fillets out of the fridge about 15 minutes before cooking. Take a few sheets of paper towel and gently, but firmly, pat every single surface of the fish until it is bone dry. This is the secret to getting that gorgeous golden crust you see in high-end food photos.
- Season Simply: Sprinkle both sides generously with kosher salt and freshly cracked black pepper. Let it sit for a minute while your pan heats up.
Step 2: The Hot Pan Sear
- Heat the Skillet: Place a heavy stainless steel or cast-iron skillet over medium-high heat. Let it heat up for a solid 2 to 3 minutes. Toss in your avocado oil and swirl it around. You want the oil shimmering and just starting to whisper smoke.
- Lay It Down Away From You: Carefully lay the cod fillets into the hot pan, moving them away from you so you don’t splash hot oil.
- Hands Off! This is where most people mess up. Once the fish is down, leave it alone. Do not try to nudge it, peek at the bottom, or move it for at least 3 to 4 minutes. It will naturally release from the pan once a proper crust forms.
Step 3: Butter Basting (The Game Changer)
- Flip with Care: Once the bottom has a deep, golden-brown sear, gently flip the cod over.
- Drop the Heat and Add Butter: Immediately turn the heat down to medium-low. Drop your 3 tablespoons of butter into the pan along with the smashed garlic cloves, rosemary, and thyme.
- The Basting Ritual: As the butter melts and starts foaming up, tilt your skillet slightly toward you. Grab a large spoon and continuously scoop up that hot, herb-infused, nutty brown butter and ladle it right over the top of the cooking fish. This cooks the top gently while bathing the flesh in rich, aromatic flavor.
Step 4: The Finish Line
- Check for Doneness: Cod cooks remarkably fast. It’s done when the internal temperature hits around 130°F to 135°F, or when you can easily flake the thickest part of the fillet with a fork and the center is opaque, white, and juicy.
- Brighten It Up: Turn off the heat and give the pan a quick squeeze of fresh lemon juice right into the foaming butter.
Real Examples and Common Mistakes to Avoid
Even with a simple recipe, things can go sideways if you aren’t paying attention. Here are a few traps I fell into early on, so you can skip the learning curve:
- Mistake #1: Using cheap non-stick pans on high heat. You actually want a little bit of sticking initially because that creates the delicious browned bits (fond) that make the pan sauce sing. Stick to cast iron or stainless steel.
- Mistake #2: Skipping the pat-down. I cannot stress this enough. If your fish is wet from the package juices, it will steam, turn grey, and stick like crazy. Take the extra 30 seconds to dry it completely.
- Mistake #3: Overcooking. Fish continues to cook for a minute or two after you pull it off the heat (carryover cooking). If you wait until it looks completely dry in the pan, it’s already overcooked on the plate. Pull it just as the center loses its translucent, glassy look.
As for real-world pairing ideas? I love serving this flaky cod over a bed of creamy garlic mashed potatoes or alongside simple roasted baby potatoes and blistered green beans. Spoon that leftover garlic-herb butter from the pan right over the top of everything on your plate. Trust me, you won’t regret it.
Final Thoughts
Cooking great fish at home isn’t an exclusive club reserved for professional chefs. It’s all about managing your heat, keeping your ingredients simple, and respecting the cooking time.
That old fear I used to feel in the seafood aisle? It’s completely gone now. Whenever I want a quick, elegant weeknight dinner that feels like a weekend treat, this pan-seared cod is my absolute go-to.
Take your time, keep a roll of paper towels handy, and don’t be afraid of a little butter. Give this method a try this week, and let me know how your crust turns out. Happy cooking!