
Let me take you back to a disastrous anniversary dinner I tried to host last year. I wanted to pull out all the stops, so I splurged on four gorgeous, premium lobster tails from the local fishmonger. They weren’t cheap. I felt like a high-rolling chef just carrying the brown paper bag out of the shop.
Fast forward an hour. I was panicking in a kitchen filled with smoke, sweat, and the distinct, heartbreaking smell of scorched seafood.
What went wrong? Everything. I didn’t thaw them properly, I boiled them until they turned into tough, rubbery pieces of old garden hose, and my “homemade butter sauce” separated into a greasy, oily puddle that tasted like plain salt. My partner lovingly ate it without complaint, but we both knew it was a tragedy. I threw away the leftovers and swore off cooking lobster forever.
Well, “forever” lasted about two months.
I refused to let a crustacean defeat me. I dove headfirst into research, talked to a buddy who works on the coast, and experimented with batch after batch until I finally cracked the code. Turns out, cooking lobster tails at home isn’t reserved for culinary school graduates. It’s actually shockingly easy—as long as you avoid a few critical mistakes.
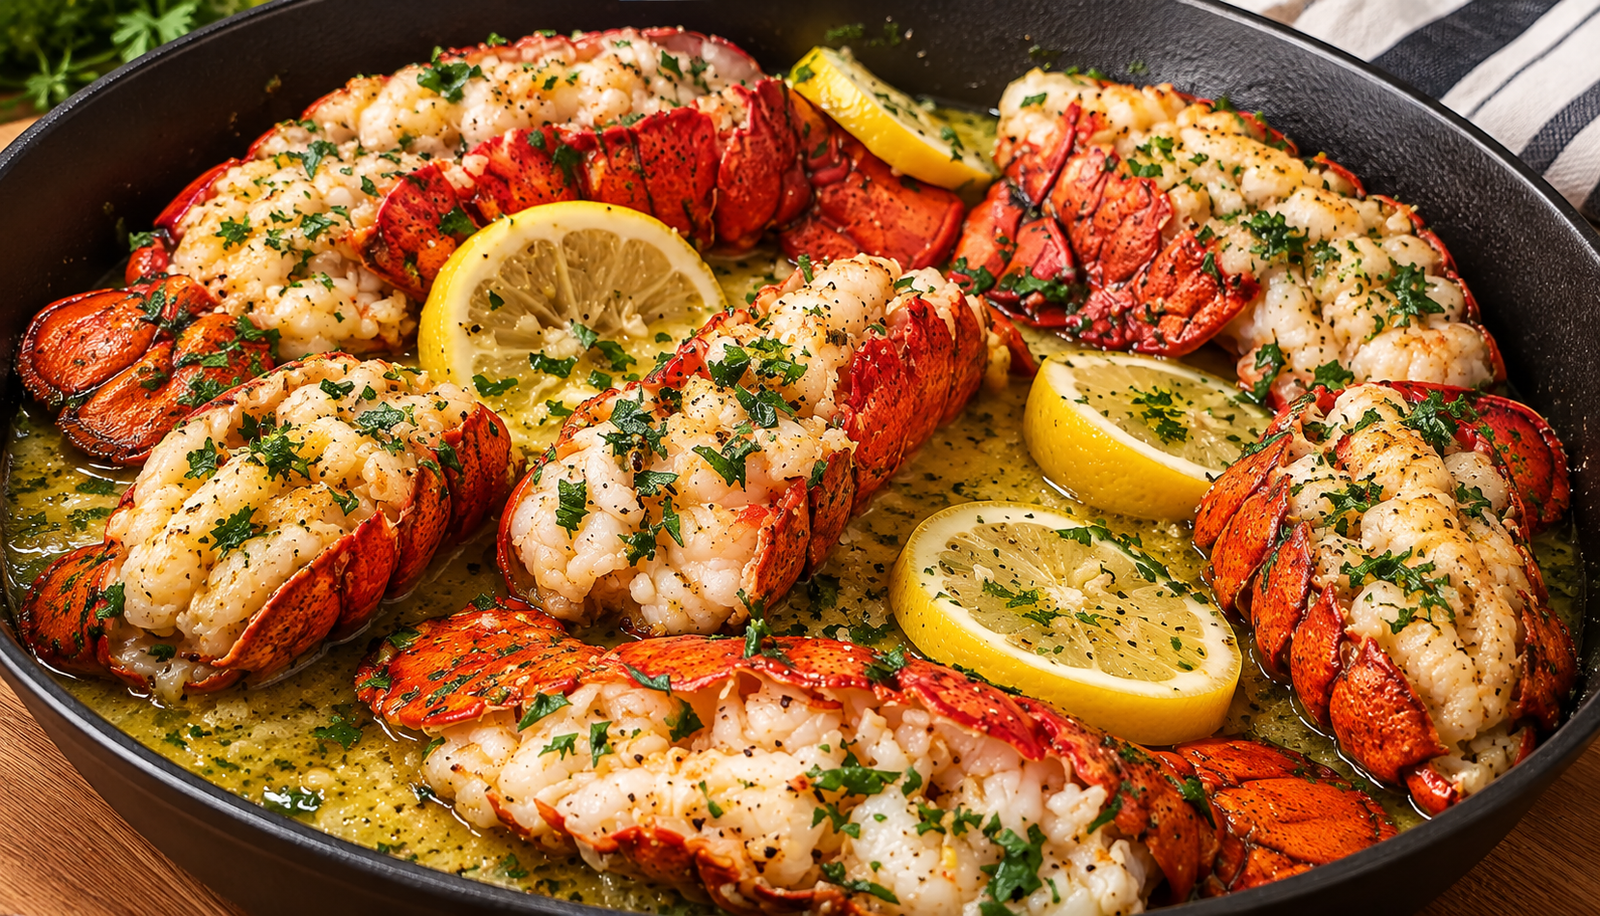
Today, I’m sharing my foolproof method for pan-searing and butter-basting lobster tails right in your own kitchen. No stress, no smoke alarms, just pure, sweet, buttery heaven that rivals any high-end steakhouse.
The Reality Check: Fresh vs. Frozen and Defrosting Trauma
Before we even look at a skillet, we need to talk about buying and prepping. This is where 90% of home cooks mess up right out of the gate.
Unless you live right on the coast, chances are your lobster tails started their life frozen. That’s totally fine! Most frozen tails are flash-frozen right on the boat, locking in incredible freshness. However, how you thaw them matters immensely.
- The Big Mistake: Throwing frozen lobster tails into a bowl of hot water to speed things up. Please, I beg of you, do not do this. You’ll end up cooking the outer edges of the meat while the inside stays frozen, resulting in a mealy, texturally offensive disaster.
- The Right Way: Transfer your frozen tails from the freezer to the refrigerator the night before you plan to cook them. Let them thaw slowly overnight. If you’re short on time, submerge them in a sealed Ziploc bag in a bowl of cold tap water for about 30 to 45 minutes.
Once they are thawed, pat them completely dry with paper towels. Moisture is the enemy of a good sear, whether you’re cooking a steak or a lobster tail.
The Ingredient List
For a meal that feels this luxurious, the shopping list is wonderfully simple. Because there are so few ingredients, make sure you buy the best quality butter and fresh lemons you can find.
| Category | Item | Quantity / Notes |
| The Star | Lobster Tails | 4 medium-sized tails (about 5-6 oz each), fully thawed and patted dry. |
| The Cooking Fat | Unsalted Butter | 6 tablespoons, divided. (We use unsalted so we can control the sodium levels with the butter sauce). |
| Olive Oil or Avocado Oil | 1 tablespoon. Helps raise the smoke point of the butter so it doesn’t burn too fast in the pan. | |
| Aromatics & Flavor | Fresh Garlic Cloves | 4 cloves, finely minced. Don’t use jarred minced garlic; fresh is non-negotiable here for that punchy flavor. |
| Herbs & Acid | Fresh Parsley | 2 tablespoons, finely chopped, for color and a fresh, clean finish. |
| Fresh Lemons | 2 whole lemons. One sliced into rounds for the pan, and one juiced for the sauce. | |
| Seasoning | Kosher Salt & Fresh Black Pepper | To taste. A pinch of smoked paprika is also a fun optional addition if you like a little kick. |
Step-by-Step: Butterfly, Sear, and Baste Like a Pro
Ready to cook? Let’s walk through the process together. Take a deep breath—you’ve got this.
Step 1: The Art of Butterflying (Optional but Recommended)
While you can just drop whole tails into a pan, butterflying them makes them look incredible and allows all that garlic butter to soak straight into the meat.
- Take heavy-duty kitchen shears and cut straight down the center of the hard top shell, stopping right before the base of the tail fan. Be careful not to cut into the meat underneath.
- Using your fingers, gently pry the shell open slightly.
- Reach your fingers under the meat and gently pull it up and away from the bottom shell, lifting it out while keeping it attached at the base.
- Lay the meat right on top of the cracked shell like a little blanket.
Step 2: Getting That Beautiful Sear
- Grab a large, heavy skillet—cast iron or stainless steel works best. Place it over medium-high heat and let it get nice and hot.
- Add your olive oil and 2 tablespoons of butter. Let the butter melt and foam up, swirling it to coat the pan.
- Lay your lobster tails into the skillet meat-side down (or shell-side down if you didn’t butterfly them).
- Let them sear undisturbed for about 2 to 3 minutes. You want the exposed meat to turn a gorgeous, light golden-brown.
Step 3: The Garlic Butter Bath (The Magic Step)
- Turn the heat down to medium-low. Toss in the rest of your butter, the minced garlic, and the fresh lemon slices right into the pan.
- As the butter melts and foams up with the garlic, tilt the pan slightly toward you.
- Grab a large spoon and continuously scoop up that foaming, garlic-infused butter and ladle it generously right over the top of the cooking lobster tails. This gently cooks the upper layers while infusing every fiber with rich, savory flavor.
- Cook for another 3 to 4 minutes total.
How do you know when it’s done? The meat will turn from translucent and glassy to a solid, opaque pearly white, and an instant-read thermometer inserted into the thickest part will read around 135°F to 140°F. Do not overcook them, or they will turn tough!
Real Examples and Common Mistakes to Avoid
Even seasoned home cooks trip up when dealing with shellfish. Here are a few traps I fell into that you can completely bypass:
- Mistake #1: Burning the Garlic. Garlic burns fast, and burnt garlic tastes bitter and acrid. That’s why we add it after the initial high-heat sear, right when we drop the temperature for the butter-basting phase.
- Mistake #2: Overcooking. Lobster cooks in minutes. The second it turns opaque and firm, get it out of the heat. Carryover cooking will finish the job on the plate. If you leave it in the pan an extra two minutes “just to be safe,” you’ll ruin the texture.
- Mistake #3: Skimping on the Lemon. Seafood loves acid. That fresh squeeze of lemon juice at the very end cuts through the heavy butter fat and balances the entire dish.
As for serving? Spoon that remaining pan sauce—dripping with garlic, herbs, and lemon—liberally over the lobster tails and whatever is next to them on the plate. I love pairing these with some roasted baby potatoes, garlic bread to mop up the extra butter, and crisp asparagus.
Final Thoughts
That disastrous anniversary dinner feels like a lifetime ago now. Making restaurant-quality seafood at home isn’t about having professional equipment; it’s about respecting the ingredients, managing your heat, and taking things one simple step at a time.
Next time you want to celebrate a milestone, have a cozy date night in, or simply treat yourself on a Tuesday, skip the overpriced restaurant bill. Pick up a couple of lobster tails, fire up your favorite skillet, and give this recipe a try.
Take your time, keep the butter flowing, and enjoy the fruits of your labor. Happy cooking!