
Picture this: It is a rainy Tuesday evening, my kitchen counter is a disaster zone of random leftover veggies, and I have zero energy to deal with a mountain of dirty dishes. All I want is something warm, cheesy, and deeply comforting that doesn’t require a culinary degree or an hour of pan-frying individual cutlets.
If you have ever tried making traditional chicken parmesan, you know the struggle. You set up a messy dredging station with flour, egg, and breadcrumbs. You fry the chicken in batches, splattering oil all over your stovetop. Then, you transfer everything to a baking dish just to bake it. By the time you sit down to eat, your kitchen looks like a tornado hit it, and you are too tired to enjoy your food.
That was my exact breaking point. I decided there had to be a better, cleaner way to get that crispy-on-the-top, juicy-on-the-inside Italian magic without losing my sanity.
Enter the One-Pan Baked Chicken Parmesan. No messy breading station, no oil splatters, and virtually cleanup-free. Let me walk you through how I simplified this classic, the mistakes I made along the way, and how you can nail it on your very first try.
The Real-Life Struggle: Learning What Not to Do
When I first attempted a simplified baked version, I made a massive rookie error. I figured, Hey, if I am skipping the breadcrumbs and frying pan, I can just throw raw chicken breasts straight into a dish with cold marinara sauce and pile mozzarella on top.
Big mistake.
An hour later, I pulled a watery, rubbery disaster out of the oven. The chicken released too much liquid, turning the sauce into a pink soup, and the cheese melted into a rubbery blanket instead of getting bubbly and golden.
That failure taught me three golden rules that changed everything:
- Never use cold chicken straight from the fridge. Let it take the chill off on the counter for about 10 to 15 minutes.
- Control the moisture. Chicken breasts naturally release water as they bake. Giving them a quick sear or building a proper tomato base prevents a watery casserole.
- Cheese timing matters. If you put all the mozzarella on from minute one, it will burn or separate into an oily mess before the chicken is even cooked through.
Ingredients You Will Need
Keep it simple, fresh, and high quality. Since there are very few ingredients, each one shines.
- Chicken Breasts: 3 to 4 boneless, skinless chicken breasts. Try to pick ones that are relatively even in thickness so they cook at the same rate.
- Marinara Sauce: 2 cups of your favorite store-bought marinara or a quick homemade garlic-tomato sauce. (I usually grab Rao’s Homemade when I am rushing because it tastes slow-cooked).
- Cheese: 1.5 cups of freshly shredded whole-milk mozzarella and 1/2 cup of freshly grated Parmesan cheese. Tip: Skip the pre-bagged shredded mozzarella if you can; it has anti-caking agents that stop it from getting that gorgeous gooey pull.
- Seasonings: 1 teaspoon garlic powder, 1 teaspoon dried oregano, salt, and freshly cracked black pepper.
- Fresh Herbs: A handful of fresh basil leaves or chopped parsley for that restaurant-style finish right before serving.
- Optional Crunch: If you miss the breadcrumb crunch, a half-cup of seasoned panko toasted in a tablespoon of olive oil on the stove for two minutes, sprinkled on top right before serving, is a game-changer.
Step-by-Step Guide: How to Make It Effortlessly
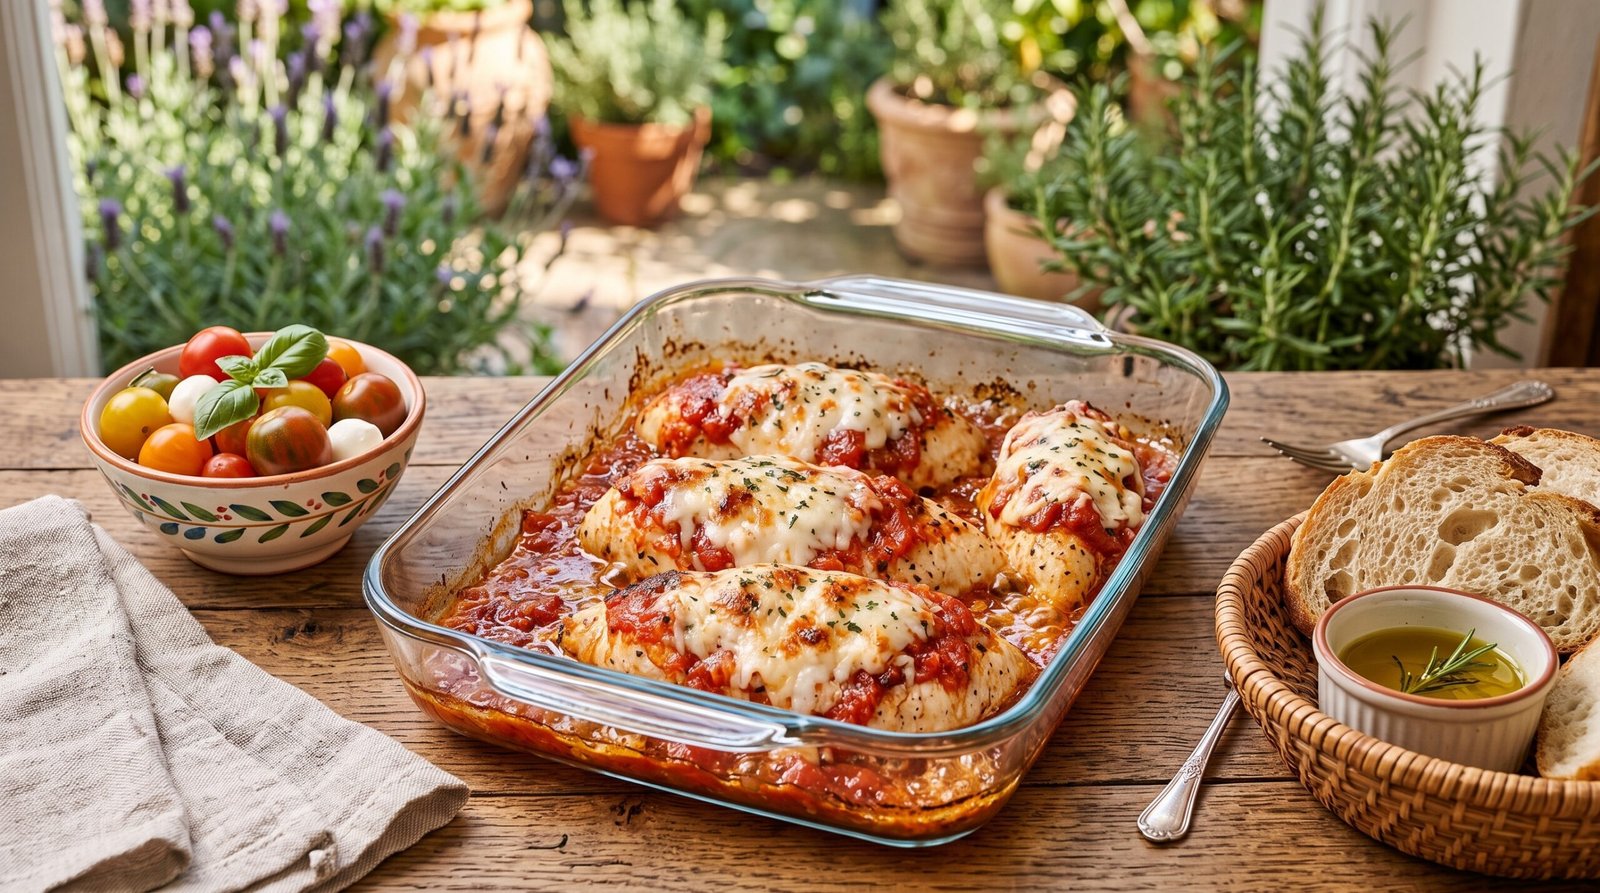
Let’s get cooking. Grab a trusty 9×13-inch glass baking dish—the exact kind you see in cozy home kitchens—and let’s dive in.
Step 1: Prep and Preheat
Fire up your oven to 400°F (200°C). While it heats up, pat your chicken breasts completely dry with a paper towel. Moisture is the enemy of a good sear and nice sauce adherence. Season both sides generously with salt, pepper, garlic powder, and oregano.
Step 2: Lay Down the Base
Pour about half of your marinara sauce directly into the bottom of your baking dish, spreading it out evenly. This creates a cozy bed for the chicken so the bottom stays juicy and doesn’t dry out while baking.
Step 3: Nestle and Sauce
Place your seasoned chicken breasts right into the sauce, giving them a little press down. Spoon the remaining marinara sauce directly over the top of each chicken breast. Make sure they are well-coated so they stay tender in the heat.
Step 4: The First Bake
Pop the dish uncovered into your preheated oven. Let it bake for about 20 to 25 minutes depending on how thick your chicken breasts are. You want the internal temperature to reach around 160°F before we add the cheese grand finale.
Step 5: The Cheese Crown
Pull the dish out of the oven. This is where the magic happens. Generously blanket each chicken breast with your freshly shredded mozzarella and a heavy snow-fall of grated Parmesan.
Step 6: Melt and Broil
Slide the pan back into the oven, but flip your oven setting to Broil on high. Keep a very close eye on it—this takes only 2 to 4 minutes. You are looking for the cheese to melt completely, bubble violently, and develop those gorgeous, smoky golden-brown spots on top.
Serving Suggestions & Making It a Feast
When you pull this bubbling masterpiece out of the oven, the smell of roasted garlic, sweet tomatoes, and melted cheese will fill your entire house.
I love serving this straight out of a rustic baking dish, plated alongside some warm, crusty artisan sourdough bread to mop up that incredible garlic-tomato sauce. Add a side bowl of fresh cherry tomatoes tossed with sweet basil leaves, or keep it super simple with a crisp arugula salad dressed in lemon juice and olive oil.
If you are hosting friends or just want a cozy weekend dinner that feels a bit elevated, pour yourself a glass of crisp water with a lemon slice and fresh mint, set out a small dish of marinated olives, and enjoy the relaxed, rustic vibe.
Common Mistakes to Avoid
- Overcooking the Chicken: Chicken breasts dry out fast. Use a digital meat thermometer. Pull them out the second they hit 165°F internal temp.
- Skipping the Cheese Cool-Down: As tempting as it is to cut right into it, let the chicken rest for 5 minutes after baking. Otherwise, all the lovely juices and melted cheese will run out onto the plate, leaving your chicken dry.
- Using Watery Sauce: If your marinara sauce looks super thin straight out of the jar, simmer it on the stove for 5 minutes beforehand to thicken it up, or your casserole will turn soupy.
This recipe has saved my weeknights more times than I can count. Give it a try next time you are craving comfort food without the kitchen chaos, and let me know how it turns out in your kitchen!