
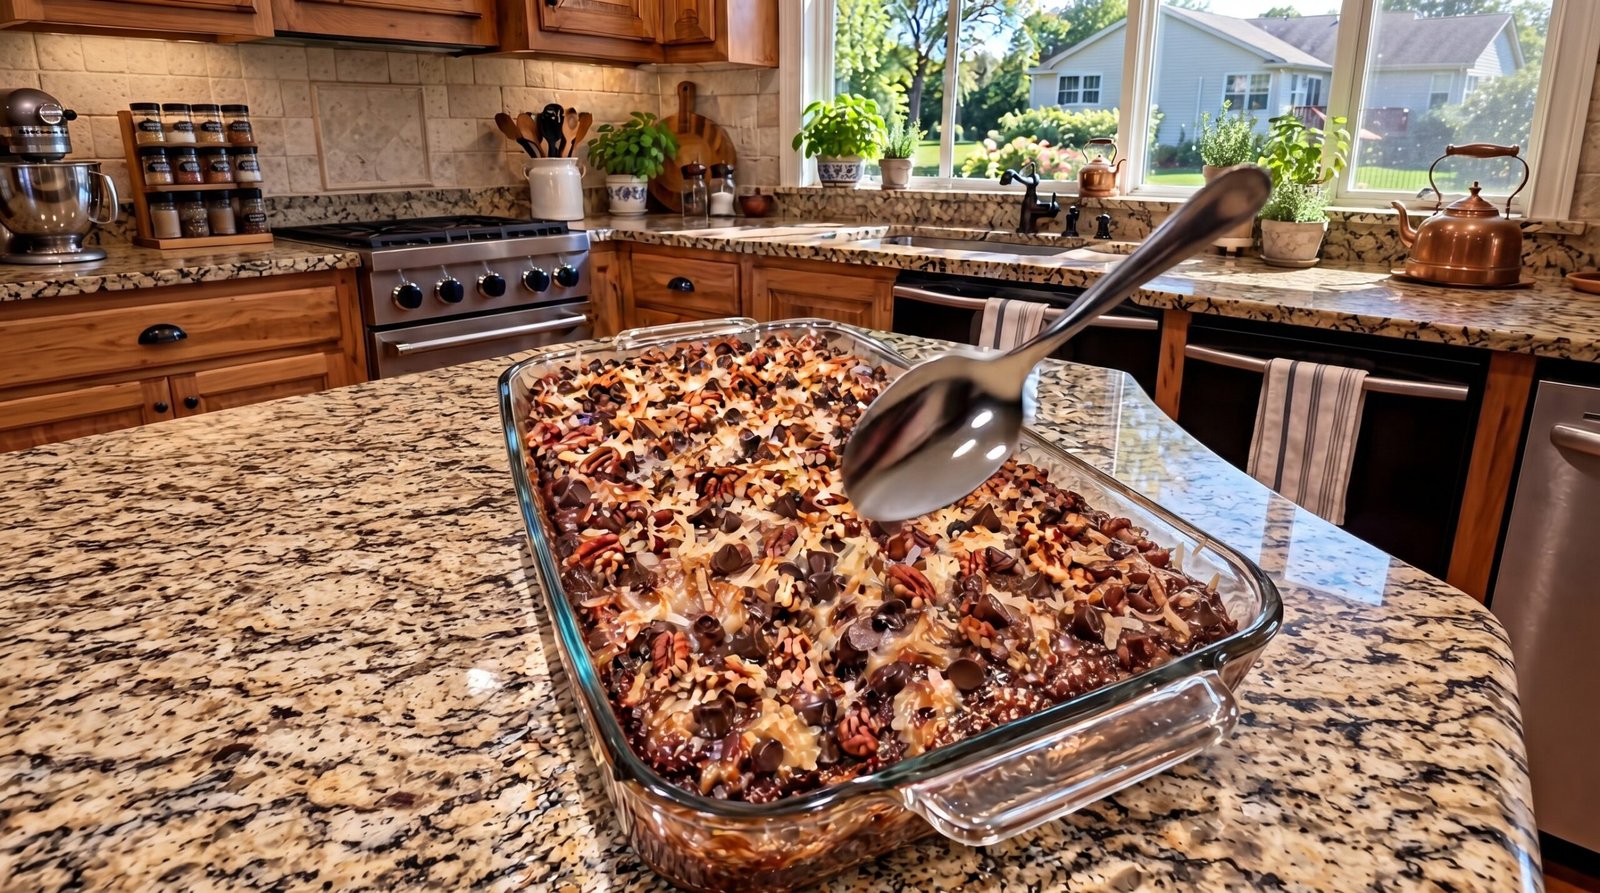
Sometimes the day feels long, and the only thing that helps is standing in the kitchen to bake something rich and satisfying. I often find myself craving that specific combination of deep cocoa, sweet coconut, and buttery pecans found in a classic cake, but I rarely have the time or patience to layer and frost a whole tier. That is when I turn to these German Chocolate Brownie Bars. They bring all those familiar, comforting flavors into a simple, single-pan treat that comes together far faster than a traditional layered dessert.
If you are like me and want a reliable go-to for when friends stop by or a quiet evening treat is in order, this recipe will quickly become a favorite in your household. You get the density of a fudgy brownie base topped with a gooey, caramelized layer of pecans and coconut that holds its own without needing a stand mixer or professional decorating skills. This is the kind of dessert that feels like a bit of a reward at the end of a busy week.
Why This Recipe Works
The success of these bars comes down to the contrast between textures. You have a dense, brownie-style bottom layer that provides a sturdy base, which is necessary to support the topping. By using a generous amount of dark cocoa powder and real butter, the base remains rich rather than overly dry. Many brownie recipes can become cakey if over-mixed, but by using a gentle hand here, you keep the texture tight and fudgy.
The topping is where the magic happens. Instead of making a separate frosting, you create a stovetop mixture that mimics the classic German chocolate filling. Combining brown sugar, evaporated milk, and butter creates a rich sauce that thickens as it cooks. When you fold in the toasted coconut and toasted pecans, you get a topping that is slightly chewy and full of deep, toasted nut flavors. Adding this mixture over the warm brownie layer allows some of the moisture to seep in, binding everything together into a cohesive bar.
Ease is another big factor. You do not need to worry about cake layers sliding around or delicate frosting work. Since you bake the brownie base until it is almost set, and then add the topping, you avoid the common issue of the topping sinking into the batter. This method ensures distinct layers and a professional look with very little effort. It is a straightforward process that relies on pantry staples, so you can whip this up whenever the craving strikes without a special trip to the store.
Ingredient Notes
The Brownie Base
To get that rich, dark base, start with high-quality unsweetened cocoa powder. Using a Dutch-processed cocoa will give you a deeper, smoother chocolate flavor compared to standard natural cocoa. For the fat, stick to unsalted butter so you have full control over the salt levels. I prefer using a mix of granulated white sugar and a touch of brown sugar in the base, as the molasses in the brown sugar helps keep the edges chewy. Large eggs at room temperature are essential to ensure the emulsion holds together correctly.
The Topping Components
The topping is the signature of this dessert. Evaporated milk is the secret ingredient here; it is much thicker than regular milk or cream and provides that signature silky texture when cooked with sugar and butter. Make sure you use sweetened shredded coconut, as the extra sugar helps it toast beautifully. For the pecans, toast them lightly in a dry pan for about three minutes before chopping them; this releases their natural oils and deepens the flavor profile.
Pantry Staples
You will need all-purpose flour, a small amount of salt to balance the sweetness, and vanilla extract. Pure vanilla extract makes a noticeable difference, so avoid the imitation version if possible. Check your labels if you have concerns about dietary sensitivities, as cocoa powder, flour, and baking additives are processed in various facilities. Having these staples on hand allows you to make this recipe on short notice without worrying about missing key components.
| Ingredient | Amount | Notes |
|---|---|---|
| Unsalted butter | 1 cup | Divided for base and topping |
| Granulated sugar | 1.5 cups | For the brownie base |
| Large eggs | 4 | Room temperature |
| Vanilla extract | 2 teaspoons | Use pure vanilla |
| Unsweetened cocoa | 0.75 cup | Dutch-processed is best |
| All-purpose flour | 1 cup | Spoon and level it |
| Salt | 0.5 teaspoon | Fine sea salt |
| Evaporated milk | 12 ounces | One standard can |
| Brown sugar | 1 cup | Packed light or dark |
| Sweetened coconut | 2 cups | Shredded style |
| Pecans | 1.5 cups | Roughly chopped and toasted |
| Chocolate chips | 1 cup | Semi-sweet or dark |
The Recipe
- Prep Time: 20 minutes
- Cook Time: 40 minutes
- Total Time: 60 minutes
- Servings: 16-20 bars
- Difficulty: Easy
- Equipment: 9×13 glass baking dish, medium saucepan, large mixing bowl, whisk, rubber spatula
Step-by-Step Instructions
Step 1: Prepare the Oven and Pan
Preheat your oven to 350 degrees Fahrenheit. While the oven warms up, take a small amount of extra butter and grease your 9×13 glass baking dish thoroughly. I like to line the bottom of the dish with a piece of parchment paper, leaving a slight overhang on the long sides. This makes it much easier to lift the entire block of bars out once they have cooled down.
Ensure your oven rack is in the center position. If the rack is too high, the top of the bars will brown too quickly before the center of the brownies is cooked through. Glass dishes hold heat differently than metal, so keeping the rack centered allows for an even bake across the entire surface of the pan.
Step 2: Mix the Brownie Base
In a large mixing bowl, melt one-half cup of butter. Whisk in the granulated sugar, eggs, and one teaspoon of the vanilla extract. Once the mixture is smooth and pale yellow, sift in the cocoa powder, flour, and salt. Gently fold these dry ingredients into the wet mixture using a rubber spatula. Stop mixing as soon as you no longer see streaks of dry flour.
Pour the thick batter into your prepared baking dish. Use the spatula to spread it evenly into the corners. Place the pan in the oven and bake for 22 to 25 minutes. You are looking for the edges to be set and the center to look slightly dull rather than shiny and raw. Do not overbake this base, as it will continue to cook slightly when the topping is added.
Step 3: Cook the Topping Mixture
While the base is baking, take your medium saucepan and combine the remaining half-cup of butter, the brown sugar, and the evaporated milk. Bring this mixture to a gentle boil over medium heat, whisking constantly. You will notice the color turning into a light caramel shade as the sugar dissolves. Let it bubble for about 5 to 7 minutes until it thickens enough to coat the back of your spoon.
Remove the pan from the heat immediately once it reaches that thickened consistency. Stir in the remaining teaspoon of vanilla, the toasted pecans, and the shredded coconut. The mixture should look glossy and fragrant. The heat from the sauce will soften the coconut slightly, making it the perfect consistency to spread over the brownie base.
Step 4: Assemble the Bars
Once the brownies come out of the oven, do not let them cool completely. While the surface is still hot, pour your coconut and pecan mixture over the brownies. Use a clean spatula to spread it carefully to the edges. Be gentle so you do not tear the surface of the brownie base, which will be quite soft at this stage.
Scatter the chocolate chips over the top while everything is still warm. They will soften slightly from the residual heat, which helps them stick to the top layer. If you prefer them to stay intact, wait about five minutes before sprinkling them on. Let the entire pan sit on a wire rack for at least 60 minutes before you attempt to slice into it.
Step 5: Slice and Serve
Resisting the urge to cut into these too early is the hardest part. If you cut them while the topping is still warm and liquid, the layers will collapse. Waiting for the full hour allows the sugar in the topping to set into a fudge-like texture, which makes for much cleaner cuts.
Use the parchment paper handles to lift the entire block out of the pan and onto a cutting board. Use a sharp, warm knife to cut them into squares. I find that wiping the knife blade between cuts keeps the edges looking clean and prevents the sticky topping from dragging through the brownie layer.
Mistakes I Made (So You Don't Have To)
Overbaking the Base
Early on, I let the brownies stay in the oven too long because I was worried about the center being raw. This resulted in a very hard, brittle bottom layer that was difficult to chew. The fix is simple: look for the "dull" center. If the surface of the brownie still looks wet or reflective, give it two more minutes. If it has lost the shine and looks matte, it is ready for the topping.
Cutting Too Soon
I have ruined many beautiful pans of brownies by rushing the cooling process. If you cut into them while the topping is hot, the sugar-milk mixture will ooze everywhere, and you will end up with a messy pile instead of clean bars. The secret is the patience of an hour. The cooling time allows the sugars to crystallize just enough to provide that chewy, stable structure that makes these bars so enjoyable.
Using High Heat for the Sauce
When I first tried making the topping, I cranked the stove to high because I wanted it to thicken quickly. This caused the evaporated milk to separate and the sugar to burn on the bottom of the pan, giving it a bitter, smoky taste. Keep the heat at medium and whisk constantly. If it looks like it is getting too hot, pull it off the burner for a few seconds. Patience with the sauce yields a much smoother, creamier result.
Skipping the Parchment Paper
I used to think I could just grease the glass dish and be fine, but the sticky sugar in this topping often glues the bars to the sides of the pan. Trying to scoop the first one out usually results in a broken mess. Using a piece of parchment paper as a sling is non-negotiable. It keeps the edges clean and makes the removal process simple, keeping the bars intact for serving.
Variations and Tips
Add a Pinch of Espresso Powder
If you want to intensify the chocolate flavor, add one teaspoon of instant espresso powder to the flour and cocoa mixture. You will not taste coffee, but it makes the chocolate taste much deeper and more complex. It is a trick I use for almost every brownie or cake recipe that calls for cocoa powder.
Switch Up the Nuts
While pecans are traditional for this specific flavor profile, walnuts work just as well if that is what you have on hand. Toast them the same way as the pecans to ensure they are crisp. Some people even enjoy a mix of macadamia nuts for a richer, more buttery crunch, though this will significantly change the classic profile of the bars.
Make Ahead Tip
These bars actually taste better the next day. The flavors meld together, and the topping sets up even firmer. If you are hosting, bake these the day before. Keep them covered at room temperature in a cool spot. They are just as good, if not better, after resting for 24 hours. This takes the pressure off your day of hosting.
The Perfect Salt Balance
The topping is quite sweet, so do not skip the salt in the brownie base. If you really want to highlight the caramel notes in the topping, sprinkle a tiny pinch of flaky sea salt over the top right before you serve. The contrast between the salt and the sweet coconut-caramel layer is exceptional.
Storage and Reheating
If you have leftovers, these bars are very easy to store. Keep them in an airtight container at room temperature for up to three days. Because of the sugar content in the topping, they stay soft and chewy without needing the refrigerator. If your kitchen is very warm, place them in the fridge to keep the topping from getting too soft, but remember to let them sit on the counter for a few minutes before eating so the texture returns to its peak state.
These bars do not freeze very well. The texture of the coconut and the caramel-like sauce can become gritty or overly soft once thawed. It is better to make a smaller batch if you think you cannot finish the whole pan within three days. If you must freeze them, wrap individual bars tightly in plastic wrap and store them in a freezer bag for up to two weeks, but be aware the quality will decrease compared to eating them fresh.
Frequently Asked Questions
Can I use regular milk instead of evaporated milk?
No, regular milk does not have the same concentration of solids and proteins as evaporated milk. The recipe relies on the specific viscosity of evaporated milk to create that stable, chewy topping. Using regular milk will result in a runny, messy topping that never properly thickens, no matter how long you boil it.
Why do my brownies become cakey instead of fudgy?
Cakey brownies usually happen because of too much flour or too much air being beaten into the batter. When mixing the dry ingredients, fold them in gently until just combined. Over-whisking incorporates too much air, and using too much flour dries them out. Stick to the measurements provided and use a light hand with your spatula.
What is the best way to tell if the brownie base is done?
The best method is to watch the surface and edges. The edges should look firm and slightly pulled away from the sides of the pan. The center should look set and matte. You can also use a toothpick in the very center; it should come out with a few moist crumbs attached, but not with streaks of liquid batter.
Can I replace the pecans?
If you have a nut allergy, you can omit the pecans or substitute them with toasted sunflower seeds. While the flavor will be different, it will provide that necessary crunch that balances the chewy coconut and soft chocolate. Avoid using peanuts as their flavor is too strong and will clash with the delicate notes of the German chocolate profile.
My chocolate chips melted into the topping. Is that okay?
Yes, that is perfectly fine. The goal is for them to hold their shape, but if the topping is very warm, they will soften and swirl into the caramel. It adds a marbled look and makes the topping even richer. It does not affect the taste at all, so do not worry if they lose their distinct chip shape.
Final Thoughts
Making these German Chocolate Brownie Bars is a process that rewards patience and simple ingredients. By focusing on the texture of the base and the quality of the topping, you end up with a dessert that is consistently reliable. It feels like a project, but it is one that anyone can manage in a single afternoon.
The best part about this recipe is how it bridges the gap between a snack and a fancy dessert. Whether you are cutting these into small squares for a large group or keeping them as a reward for yourself, they are always appreciated. I hope you enjoy the process of making them as much as I do.