
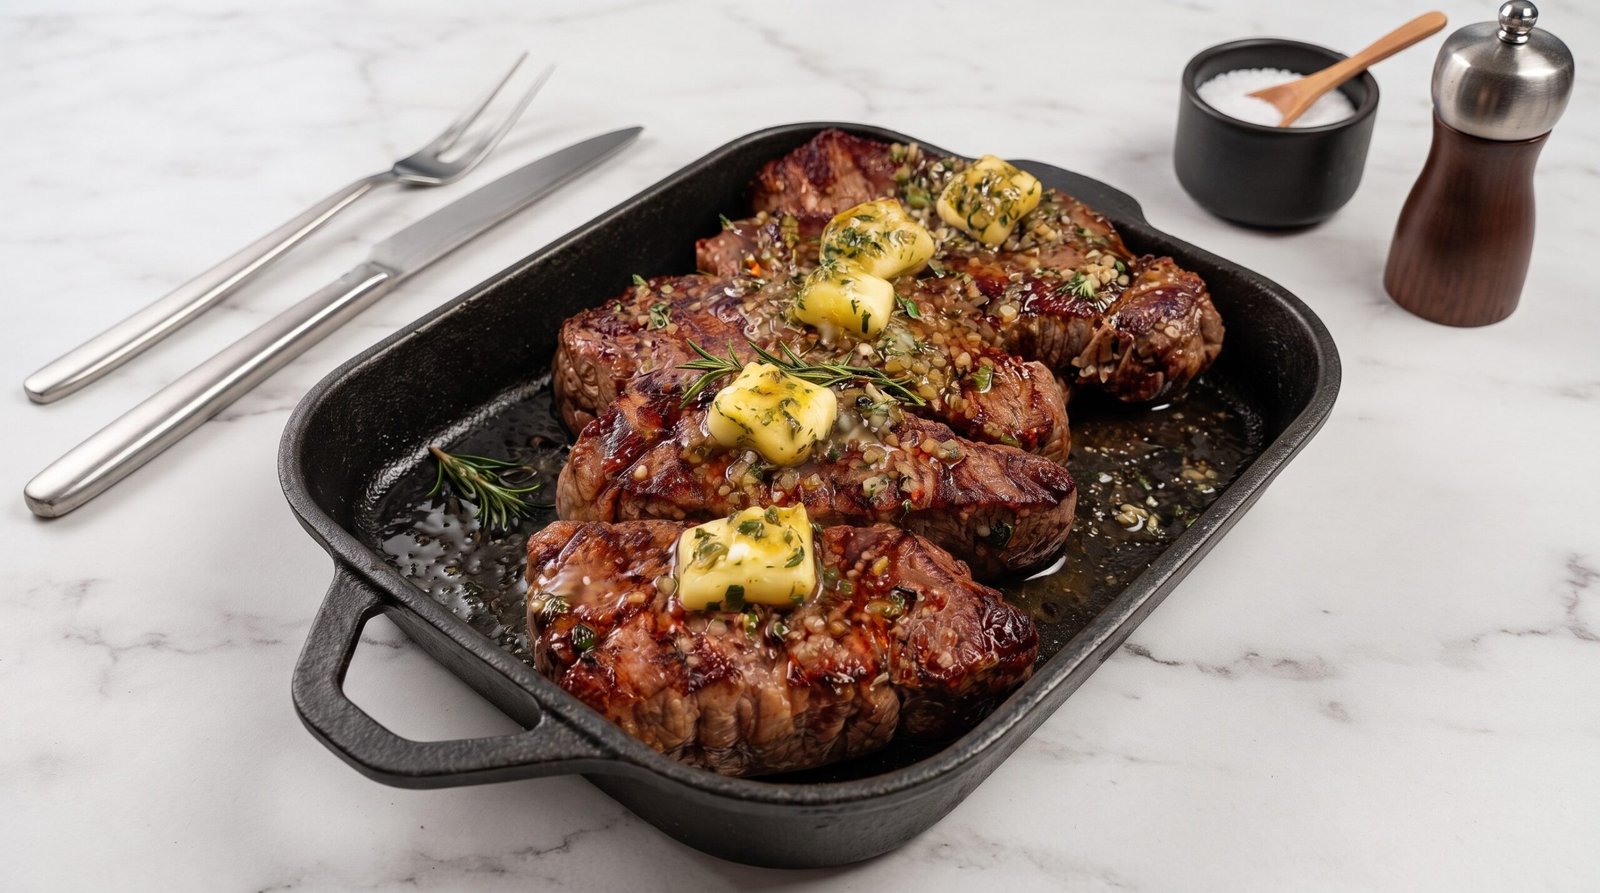
I remember the first time I tried to cook a restaurant-style steak in my own kitchen. I was nervous about ruining an expensive cut of meat, and honestly, I probably spent half the time hovering over the pan with a pair of tongs, waiting for it to magically finish. Over the years, I have learned that the key to a good pan-seared butter basted steak is not complex techniques, but rather having patience and trusting the process. You want a deep brown crust on the outside and a center that remains tender and juicy without overcooking the edges. This method of basting the steak with herb-infused butter during the last few minutes of cooking adds a rich flavor and a glossy finish that truly sets it apart from a plain grilled steak. It is a simple skill that transforms a basic piece of meat into something you feel proud to serve at your dinner table. Whether you are treating yourself on a Friday evening or hosting a small group of friends, mastering this technique will make you feel confident behind the stove.
Why This Recipe Works
This recipe relies on the interaction between high heat and high-quality fat. By starting with a cold, dry steak and a screaming hot pan, you encourage the Maillard reaction, which is the scientific process that creates that savory, dark brown crust on the surface of the meat. This crust is essential because it provides a textural contrast to the soft, warm interior. If the steak is wet when it hits the pan, it will steam instead of sear, leading to a dull gray color and a less interesting flavor profile.
The butter basting stage is the second part of why this works. Once the steak has developed a good sear, you turn the heat down slightly and add a knob of butter along with aromatic herbs like rosemary and garlic. As the butter melts and foams, the milk solids start to toast slightly, which adds a nutty aroma to the pan. Spooning this bubbling liquid over the steak repeatedly ensures that the fat penetrates the exterior, basting the meat in its own juices and the infused butter. This technique keeps the steak moist and adds a layer of depth that cannot be achieved with dry heat alone.
Consistency is also a big part of why this recipe works. By using a heavy cast-iron skillet, you maintain a steady temperature throughout the cooking process. Cast iron is excellent at holding heat, which means the pan will not drop in temperature too drastically when you add the cold meat. This prevents the steak from cooling down and sticking to the surface. It is a reliable, straightforward method that yields a reliable result every time you step into the kitchen to prepare it.
Ingredient Notes
Selecting the Beef
When it comes to picking the meat, you want a cut that has enough fat to stay juicy. Ribeye is a classic choice because it has plenty of intramuscular fat, often called marbling. This fat melts during the cooking process and keeps the steak moist. New York strip is another solid option. It is a bit firmer than a ribeye but still provides a beefy flavor. Regardless of the cut, aim for steaks that are at least one inch to an inch and a half thick. If the steak is too thin, it will reach the desired internal temperature before you have a chance to develop the crust, which leads to overcooked gray bands inside the meat. Always check your packaging labels if you have specific dietary concerns, as some processed meats might contain hidden additives or sodium solutions.
The Butter and Aromatics
For the basting process, use high-quality unsalted butter. Since you are going to be seasoning the steak with salt separately, unsalted butter gives you more control over the final flavor. Salted butter can sometimes become too aggressive once it reduces in the pan. The garlic should be smashed with the flat side of your knife rather than minced. This prevents the small pieces of garlic from burning too quickly in the high heat. Rosemary is the standard herb for this dish, but fresh thyme also works well. If you have both, feel free to toss in a sprig of each. Just make sure the herbs are dry before you add them to the hot butter to avoid a messy splatter.
Seasoning and Oil
Use a high-smoke point oil for the initial sear, such as avocado oil, grapeseed oil, or a light vegetable oil. Avoid using extra virgin olive oil for the high-heat searing stage because it has a lower smoke point and can start to burn and turn bitter before the steak is done. For the seasoning, kosher salt and coarse black pepper are all you need. Sprinkle the steak generously on all sides just before you are ready to put it in the pan. If you salt the steak too early, the salt will draw moisture out to the surface, which works against your goal of getting a crisp crust.
| Ingredient | Amount | Notes |
|---|---|---|
| Ribeye or Strip Steak | 2 steaks, 1.5 inches thick | Bring to room temp before cooking |
| Kosher salt | 1 tablespoon | Use to coat all sides evenly |
| Coarse black pepper | 1 teaspoon | Freshly cracked is best |
| High-smoke point oil | 2 tablespoons | Avocado or grapeseed works well |
| Unsalted butter | 3 tablespoons | Cut into small chunks |
| Fresh rosemary | 2 sprigs | Woody stems removed |
| Garlic cloves | 3 cloves | Smashed but kept whole |
The Recipe
- Prep Time: 15 minutes
- Cook Time: 10 to 12 minutes
- Total Time: 25 to 30 minutes
- Servings: 2 people
- Difficulty: Intermediate
Equipment needed: Large heavy-duty cast-iron skillet, long-handled tongs, metal spoon for basting, meat thermometer, paper towels.
Step-by-Step Instructions
Step 1: Prepare the Steaks
Start by taking your steaks out of the refrigerator about 30 to 45 minutes before you plan to cook them. This allows the meat to come closer to room temperature, which helps it cook more evenly from edge to center. If you try to cook a cold steak, the outside will burn while the center stays ice-cold, which is never the result you want. While the steaks are resting, use a few paper towels to pat the entire surface of the meat dry. Surface moisture is the enemy of a good sear, so be thorough here.
Once the steaks are dry, season them generously on both sides, including the edges. I like to press the salt and pepper into the meat gently with my hands so it adheres well. Do not be shy with the seasoning. A thick steak can handle a good amount of salt, and much of it will fall off during the searing process anyway. Set the steaks aside on a plate while you get your pan and ingredients ready.
Step 2: Heat the Skillet
Place your cast-iron skillet over medium-high heat. You want the pan to be very hot, but not smoking to the point that it triggers your fire alarm. Add the oil to the pan and tilt it slightly to ensure the bottom is fully coated. Wait for the oil to shimmer and move like water across the surface. If you see tiny wisps of smoke starting to curl up, you are at the right temperature.
Carefully lay the steaks into the hot oil. Lay them away from you to avoid any oil splashes. You should hear a loud, immediate hiss when the meat hits the metal. If you don't hear that sound, the pan wasn't hot enough. Let the steaks cook undisturbed for about 3 to 4 minutes. Do not try to move or flip them too early, as they might stick to the surface. You want to develop a deep, dark golden-brown crust.
Step 3: Flip and Develop the Crust
After about 4 minutes, use your tongs to lift the edge of the steak to check the color. If it has a deep brown, uniform color, go ahead and flip the steaks over to the other side. You will notice the cooked side has a crust, which is exactly what we are looking for. Cook the second side for another 3 to 4 minutes. If the steak is thick, use your tongs to hold the steak vertically for a few seconds to sear the fatty edges as well.
During this time, keep an eye on the heat. If the pan seems like it is getting too dark or if the oil starts to smell acrid, turn the heat down to medium. You want a steady sizzle, not a burnt mess. At this point, the steaks should have a good crust on both sides, and we are moving toward the final stage of finishing the cook.
Step 4: The Butter Basting Phase
Lower the heat to medium. Add the chunks of unsalted butter to the pan. Once the butter starts to melt and foam, add the smashed garlic cloves and the fresh rosemary sprigs. The butter will bubble up, and the kitchen will start to smell fragrant and nutty. Tilt the pan slightly so the bubbling butter collects at the bottom near the handle.
Using your large metal spoon, continuously scoop the foaming butter and pour it over the steaks. This is called arrosé, and it is a classic technique. The hot, fat-rich butter cooks the steak gently while adding moisture and flavor. Continue basting for 2 to 3 minutes. The constant movement of the hot butter helps regulate the temperature of the steak, ensuring it finishes without drying out.
Step 5: Check Temperature and Rest
Use an instant-read meat thermometer to check the doneness of your steaks. Insert the probe into the thickest part of the meat, avoiding the bone if your steak has one. For medium-rare, you are looking for an internal temperature of about 130°F to 135°F. Remove the steaks from the pan once they reach your desired temperature, keeping in mind that the heat will continue to travel through the meat after you take it off the stove.
Place the steaks on a cutting board or a warm plate. This is the most important part of the entire process. Let the steaks rest for at least 8 to 10 minutes. Resting allows the internal juices to redistribute throughout the meat. If you cut into the steak immediately, the juices will run out onto the board, leaving you with dry meat. When you are ready, slice the steak against the grain to ensure every bite is tender.
Mistakes I Made (So You Don't Have To)
Overcrowding the Pan
One of the biggest mistakes I made early on was trying to cook too many steaks at once in a pan that was just too small. When you crowd the pan, the temperature drops rapidly, and the moisture released from the meat has nowhere to escape. Instead of searing, the steaks end up boiling in their own juices, which results in a gray, rubbery exterior. The fix is simple: use a larger skillet or, if you have several steaks to cook, do them in batches. Give each steak enough room so that they aren't touching each other. This allows the heat to circulate properly and gives you that nice sear.
Not Using Enough Heat
I used to be afraid of the pan getting too hot, so I would keep the heat on medium-low. The result was a pale, unappetizing steak that had been cooked through by the time it finally picked up any color. A pan-seared steak needs high, direct heat for the first stage of the process. Do not be afraid of the heat, as long as you use an oil with a high smoke point. If the smoke gets to be too much, turn on your vent hood or crack a window, but keep the heat up until that crust forms.
Moving the Meat Too Soon
In the beginning, I had a bad habit of constantly flipping the steak because I was worried about burning it. Every time you move the steak before it has developed a crust, you disrupt the searing process. It takes time for the surface proteins to bond and create that brown crust. If you try to flip it too soon, the steak will stick to the pan and tear. The rule of thumb is to let it sit for at least 3 minutes before checking. If the meat is still stuck to the pan, just give it another minute. It will release naturally when the crust is fully developed.
Skipping the Resting Time
I cannot tell you how many times I was so hungry that I cut into the steak the second it left the pan. Every single time, the juices would leak out onto the cutting board, and the steak would be dry and disappointing. The muscle fibers of the steak are contracted while they are being cooked under high heat. Resting allows them to relax and reabsorb those juices. Even if it is difficult to wait, giving the steak 8 to 10 minutes makes a huge difference in the final texture and juiciness. If you are worried about the steak getting cold, you can cover it loosely with a piece of foil while it rests.
Variations and Tips
Try Different Herbs
While rosemary is the traditional pairing, you can experiment with other aromatics. Thyme adds a slightly more floral note, while a small sprig of fresh sage can bring an earthy depth. You could even add a whole shallot, peeled and halved, to the butter during the basting process for a hint of sweetness. The goal is to infuse the butter with flavors that complement the richness of the beef, so don't be afraid to experiment with what you have in your herb garden.
Make-Ahead Strategy
You can't really "cook" a steak ahead of time, but you can certainly prepare it. Pulling the steaks out of the fridge an hour before cooking is the best way to ensure they are ready to go. You can also prep your aromatics and have your butter and herbs measured out. When it is time to serve, everything will be within reach, which keeps the process stress-free.
The Butter Finish
If you want a more luxurious finish, you can add a tiny splash of heavy cream or a squeeze of fresh lemon juice into the butter at the very end. The acidity of the lemon cuts through the richness of the butter and the fat of the beef, which can really brighten up the final dish. Just swirl it in right before you take the steaks off the heat.
Choosing the Right Pan
I mentioned cast iron, but if you don't have one, a heavy-bottomed stainless steel pan will work, too. Avoid using non-stick pans for this recipe. Non-stick coatings are not designed for the very high heat required to get a proper sear on a steak, and you may damage the coating. A heavy, thick-bottomed pan will conduct the heat better and give you the best chance at a professional-looking crust.
Storage and Reheating
If you happen to have leftovers, they need to be handled carefully to keep them safe. Store the cooked steak in an airtight container in the refrigerator within two hours of cooking. It will stay safe to eat for up to 3 days. Since steak can dry out easily when reheated, I recommend against using the microwave. Instead, put the steak in a cold pan with a tiny bit of water or butter, cover it, and reheat on low heat until the meat is warmed through to an internal temperature of 165°F.
Freezing is not ideal for a cooked steak, as the texture of the meat will change once it is thawed. The freezing process creates ice crystals that damage the cell structure of the meat, making it feel mushy when you reheat it. If you have to freeze it, wrap it tightly in plastic wrap and then again in aluminum foil to prevent freezer burn. It is best to use frozen leftovers within a month, and always thaw them slowly in the refrigerator before reheating.
Frequently Asked Questions
How do I know when the steak is actually done?
The best way to know is by using an instant-read meat thermometer. For medium-rare, aim for an internal temperature of 130°F. For medium, look for 140°F. If you do not have a thermometer, you can use the finger test, where you compare the feel of the steak to the fleshy part of your palm, but a thermometer is much more reliable and takes the guesswork out of the process.
Can I use butter for the whole cooking process?
I do not recommend using only butter from the start. Butter has milk solids that will burn and turn bitter if they are exposed to high heat for the entire cooking time. That is why we start with a neutral oil for the initial sear and add the butter only during the last few minutes for the basting stage. This gives you all the flavor of the butter without the risk of burnt bits sticking to your meat.
My pan is smoking too much. What should I do?
A little smoke is normal when you are searing at high heat, but if it is getting out of control, your pan is likely a bit too hot or your oil has a low smoke point. Immediately turn down the heat and open a window or turn on your kitchen exhaust fan. If the oil is black or smells acrid, you might need to wipe out the pan carefully and start again with fresh oil, but usually, just reducing the temperature is enough to settle the smoke.
Why is my steak grey instead of brown?
This usually happens because of two things: either your pan wasn't hot enough when you added the steak, or the surface of the steak was wet. If the pan isn't hot, the meat will steam instead of sear. If the steak has moisture on it, the water has to evaporate before the browning can start, which leads to a gray, overcooked-looking surface. Always pat the steak completely dry before putting it in the hot pan.
What should I serve with this steak?
This is a rich, flavorful dish, so it pairs well with something that can provide a balance. Simple steamed green beans, a crisp salad with a vinaigrette, or roasted potatoes are all great choices. You don't want anything too heavy that will compete with the steak. Keep the side dishes simple and let the quality of the beef be the star of the meal.
Final Thoughts
Making a restaurant-quality steak at home really comes down to the basics. Once you get comfortable with the rhythm of the pan and learn how to manage the heat, you will find that it is a very straightforward process. It is satisfying to see the crust develop and to know that you are in control of how your meal turns out.
Do not be discouraged if your first attempt is not exactly what you expected. It took me a few tries to get the timing of the butter basting just right. Just take it one step at a time, use your thermometer to keep things safe, and remember that even the pros started somewhere. Enjoy the process of cooking your own meal.